NUΛNO
was achieved in 1 Month, from Aug. to Sept. 2021
using Adobe Ae and Adobe Me
Overview
NUΛNO was an end-credits scene concept for a fictional sci-fi-inspired cross-platform game.
With the intent of learning more about Adobe After Effects — particularly its JavaScript expressions — NUΛNO was created entirely within the software package and rendered using Adobe Media Encoder.
Through learning more about expressions, auditory-based motion, compositing, colour grading, and rendering specifics, I am assured of my ability to use both software packages and create expression-based motion graphics.
The soundtrack used for this project was Rituals by Scottish composer Chris Glass, otherwise known as Outrun. One can listen to Rituals at soundcloud.com/outrunabz/rituals.
This discovery defines the approach I took to produce NUΛNO's credits.
Establishing a Base Grid
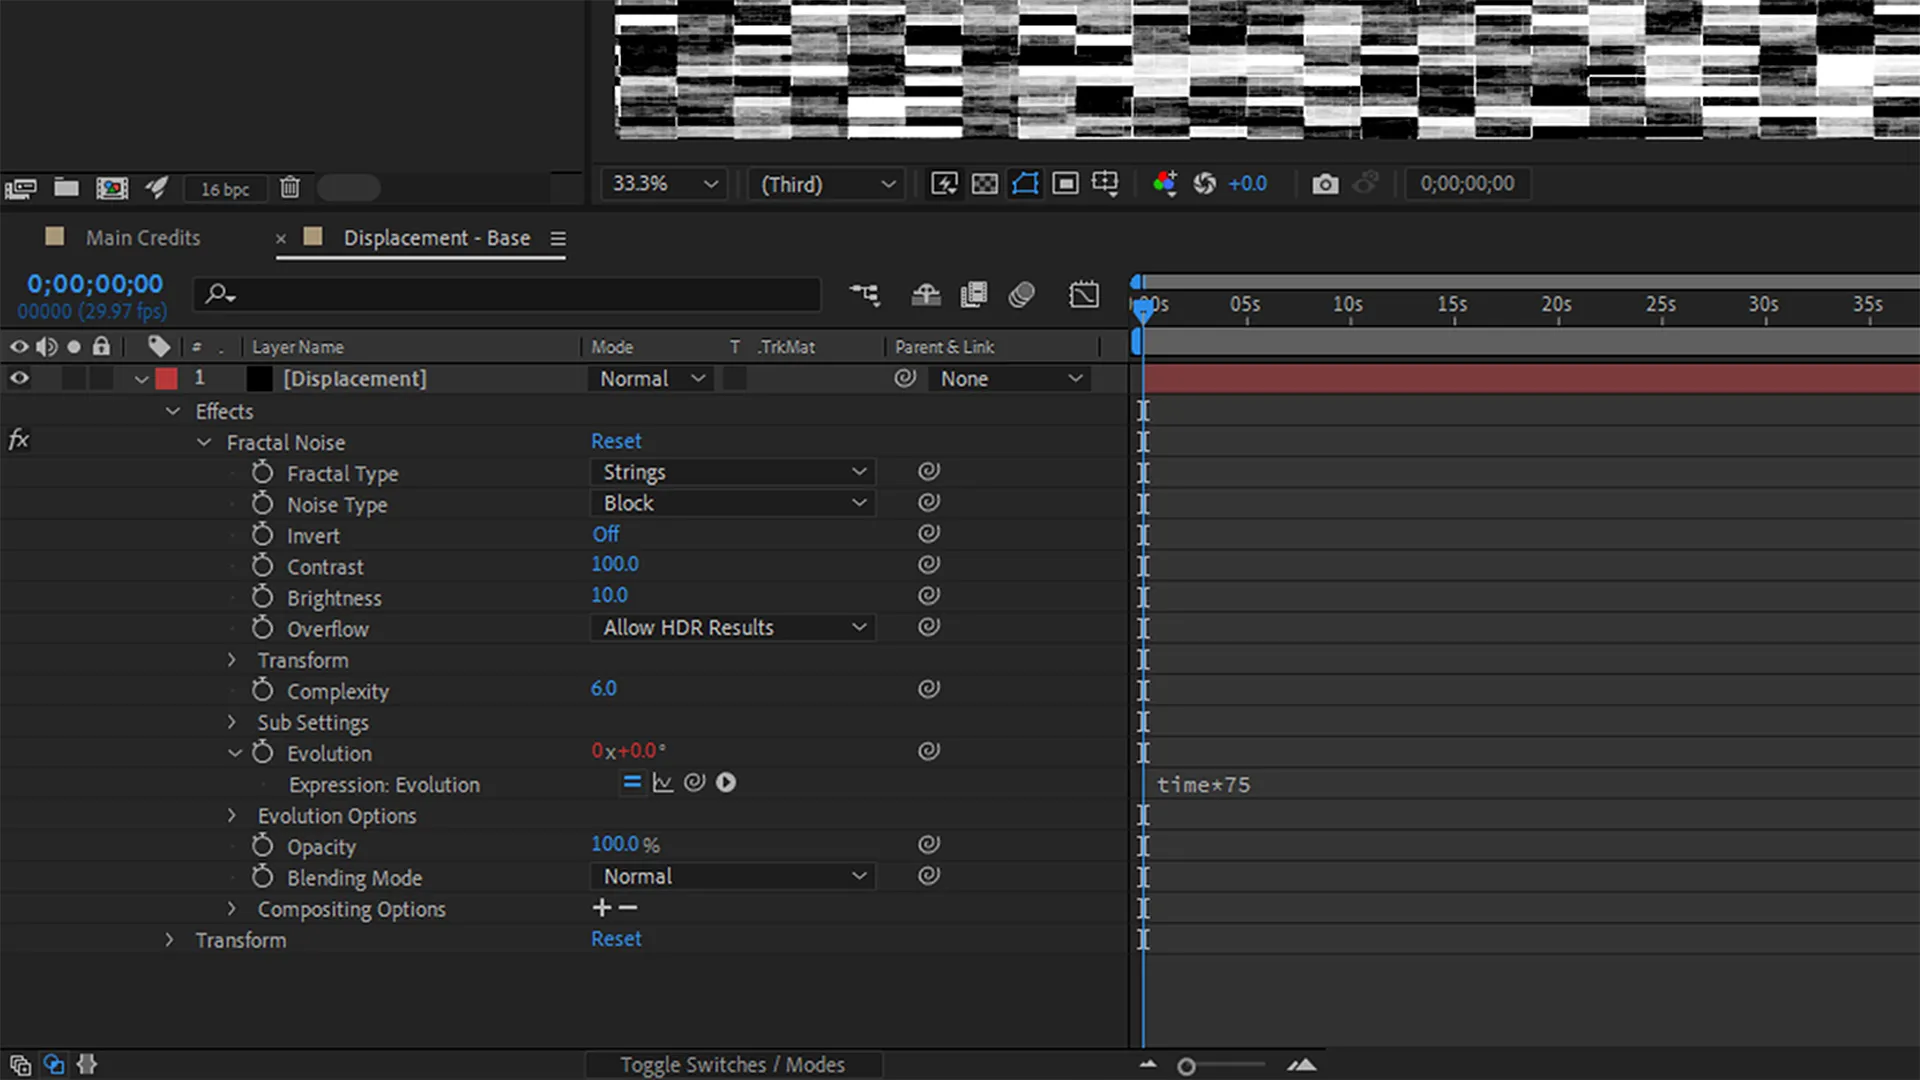
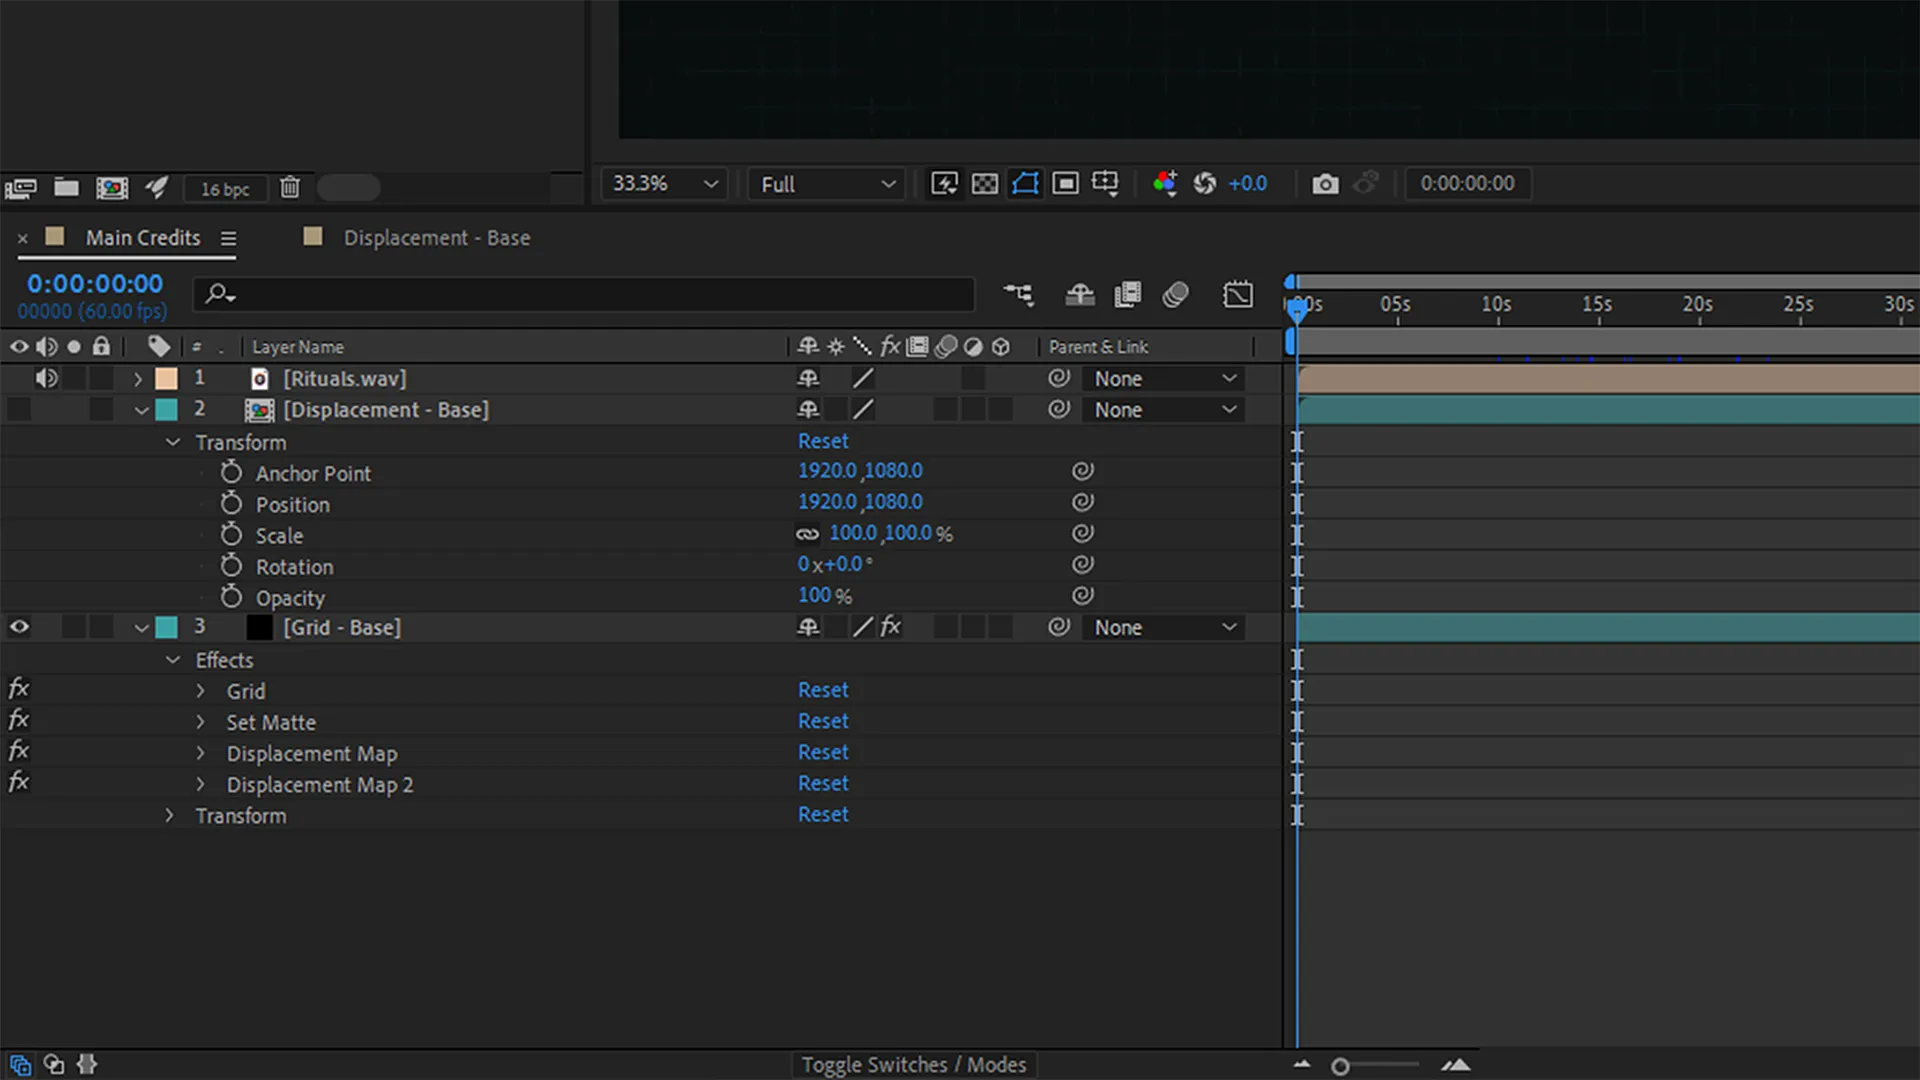
I began by establishing a base grid as the foundation of Nuano's amplitude-based motion.
I set up a new displacement composition and positioned a new solid object within it to render the grid's motion. I placed a fractal noise effect on this object and tweaked its settings to use Strings as its fractal type and Block as its noise type.
Following its creation, I placed this displacement composition within the main composition and toggled its visibility off.
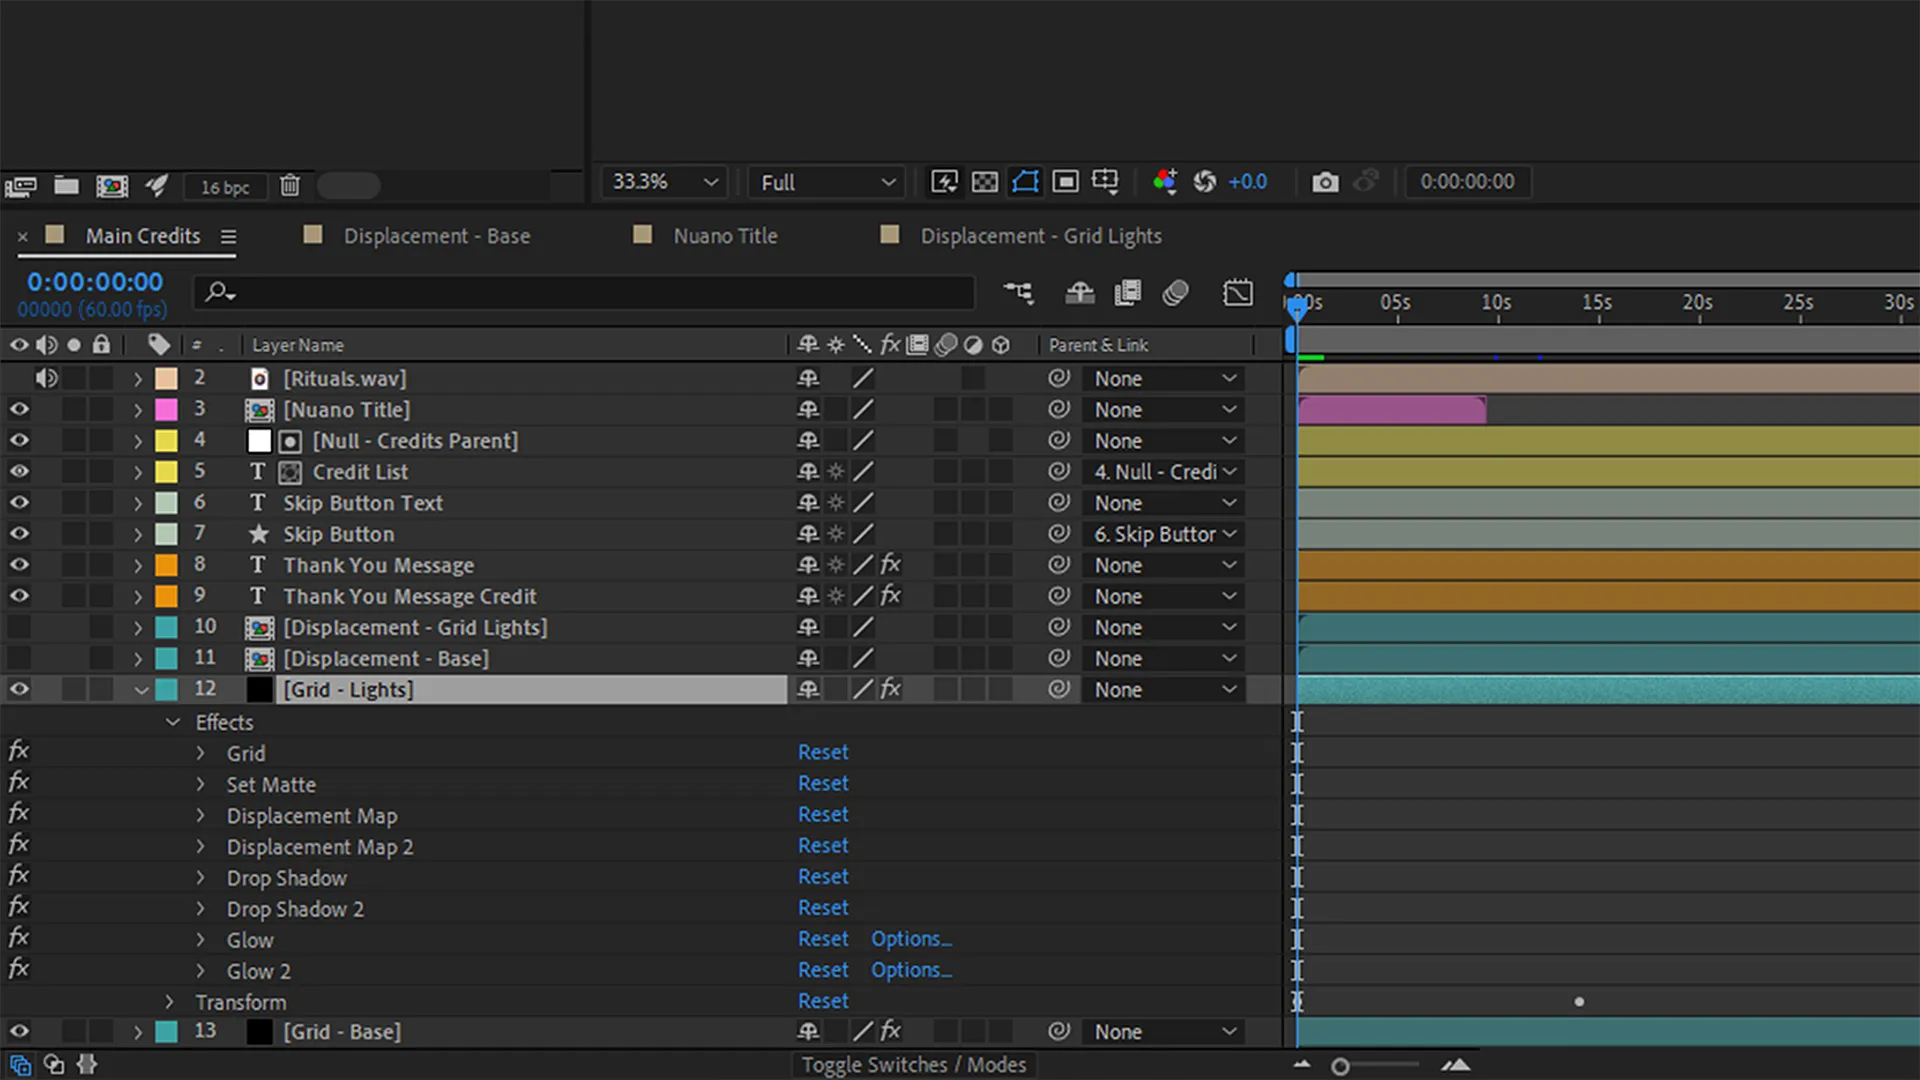
Afterwards, I positioned a new solid object within the main composition to create the grid. I placed four effects on this object. A grid effect characterised the grid, while a set matte effect that used the displacement composition layer gave the grid its noisy-random appearance. Finally, two displacement map effects emphasised the grid's motion.
Creating a Title
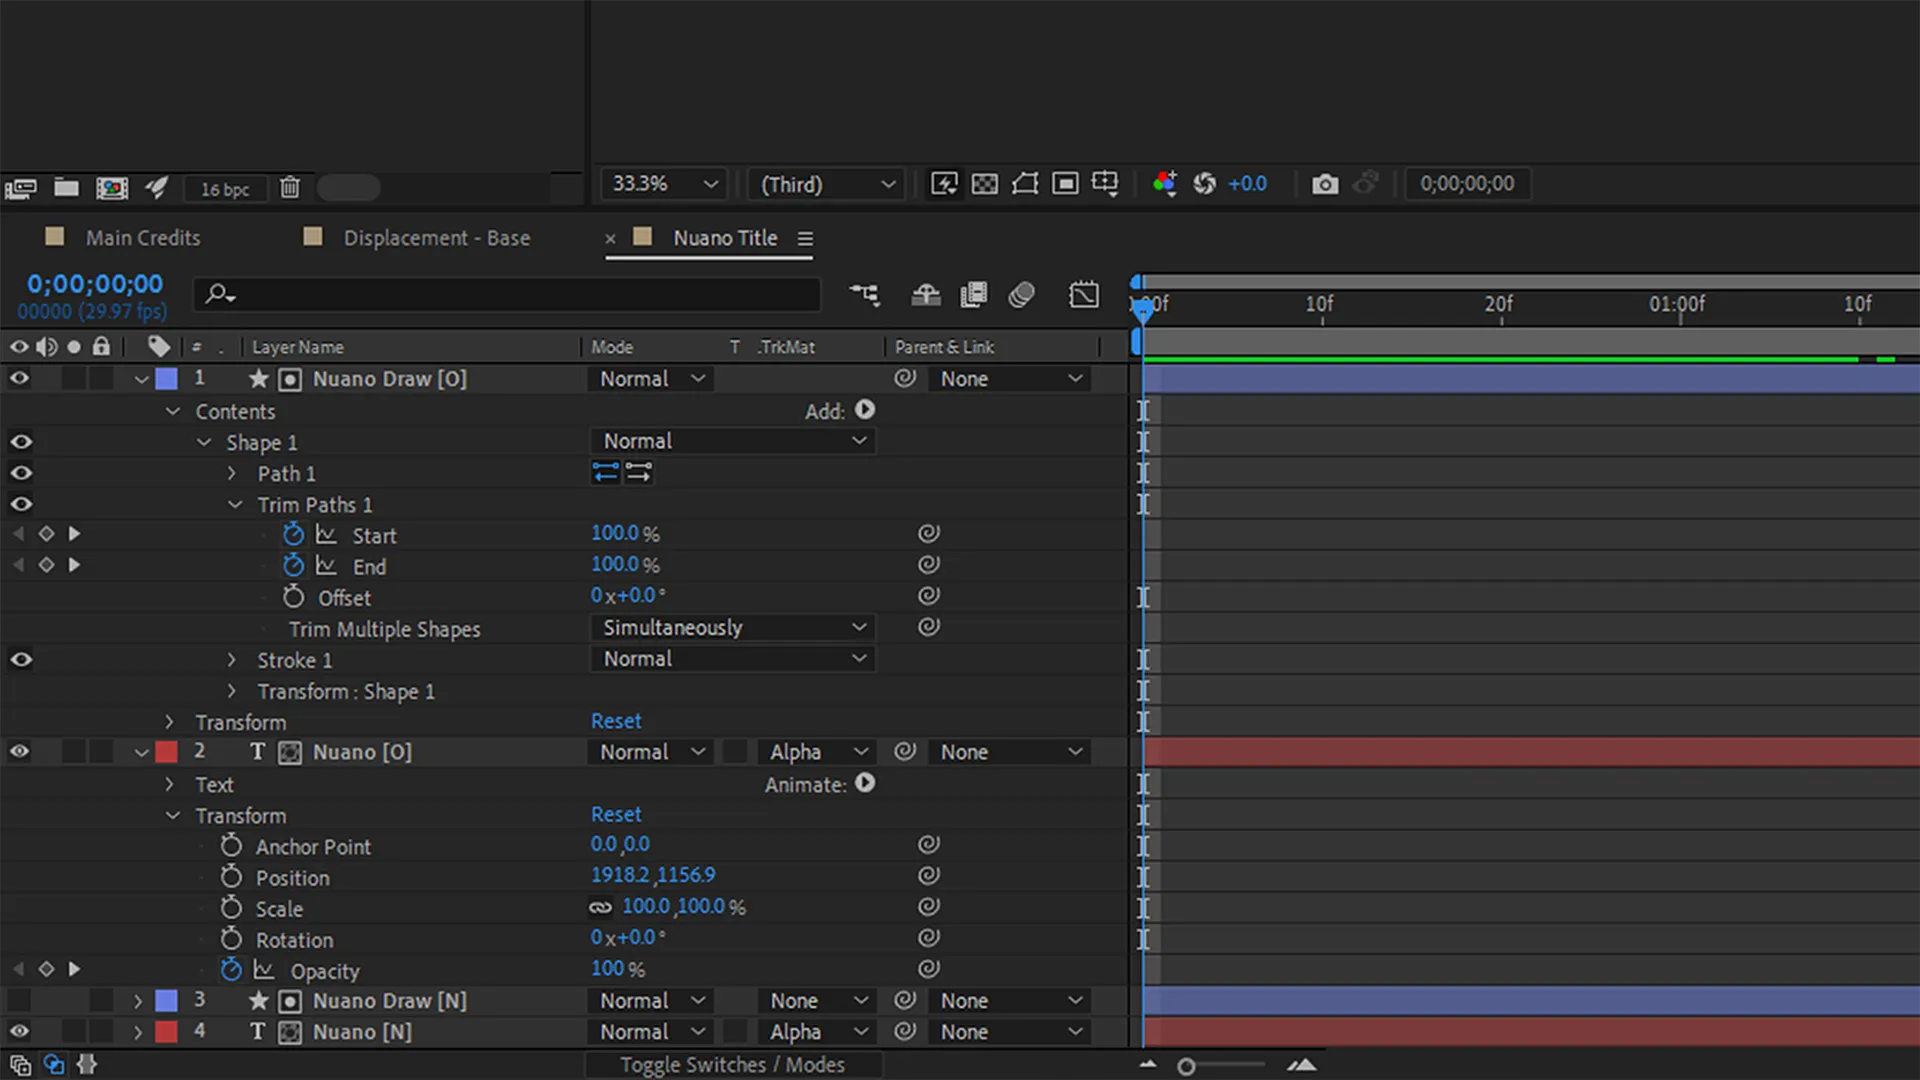
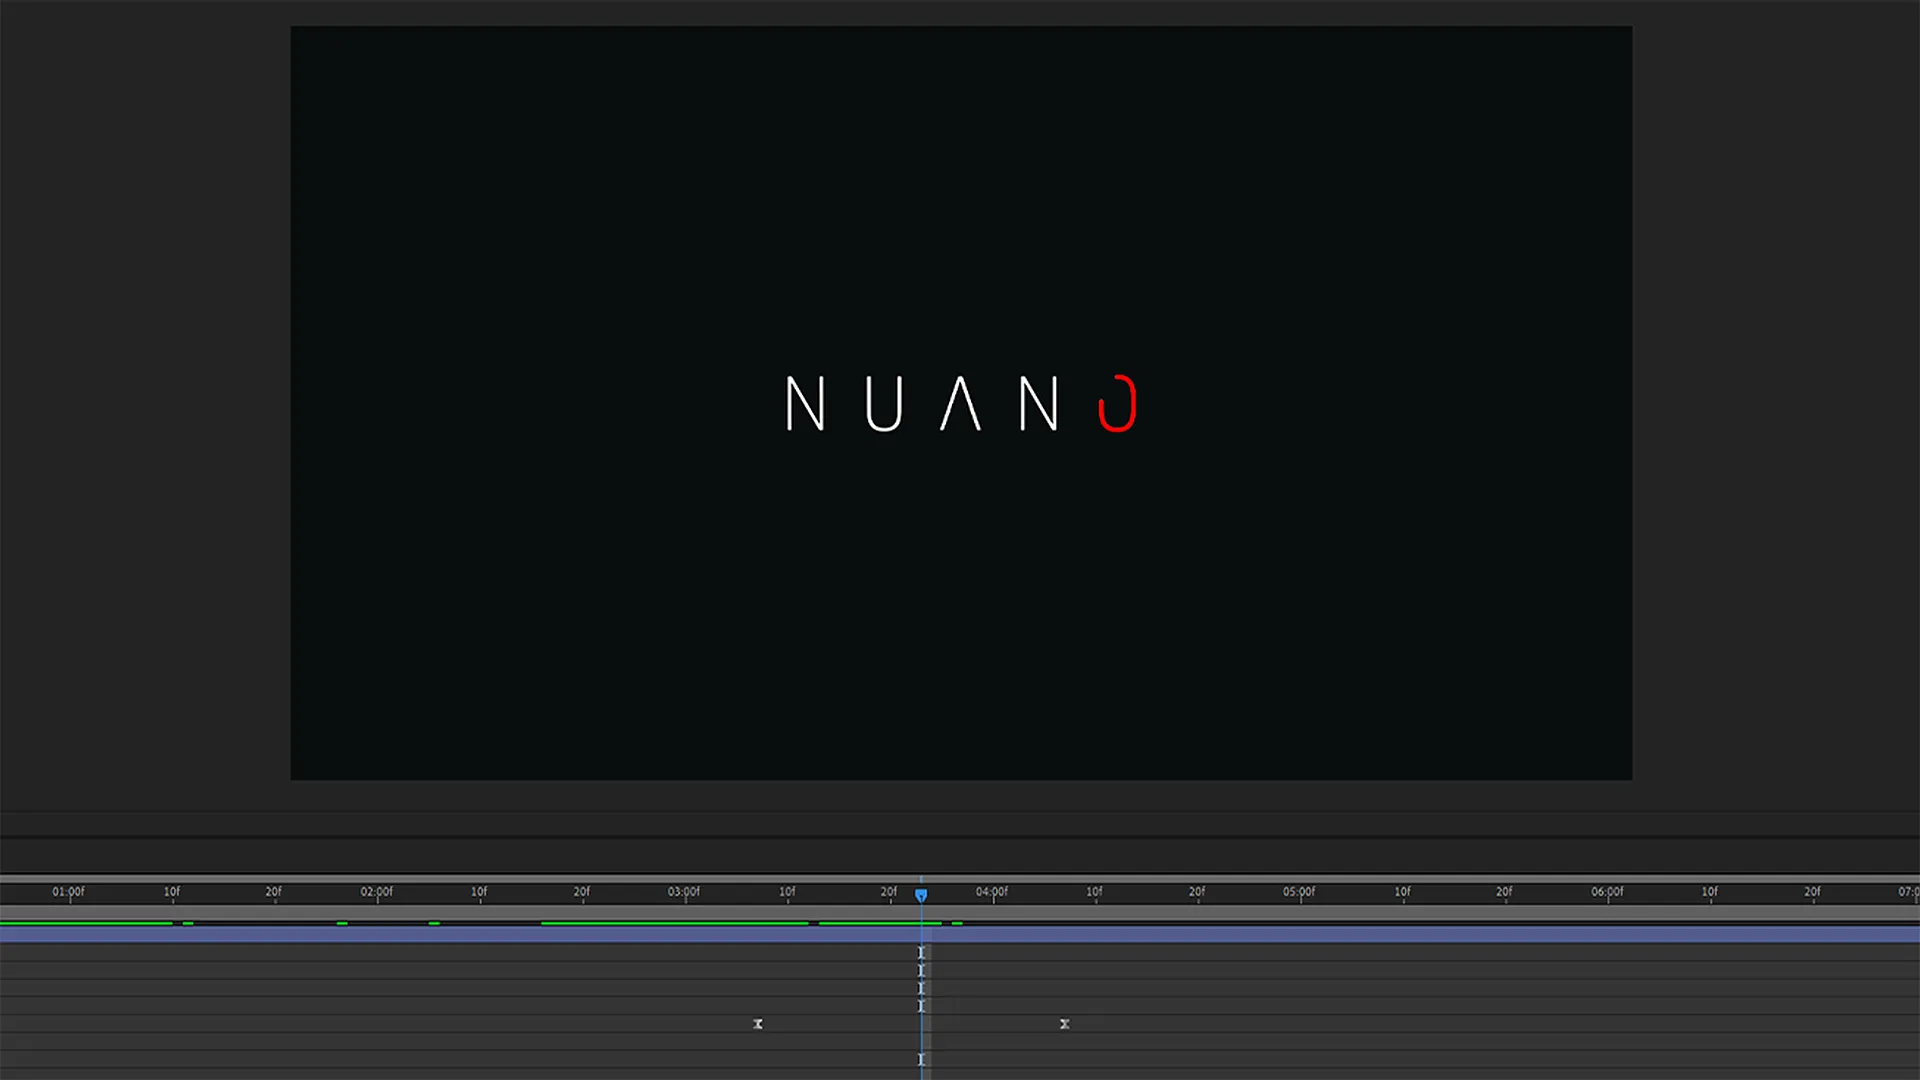
After establishing Nuano's base grid, I created its eye-catching title animation.
I created a new title composition to maintain its text elements and effects. I positioned a principal text object in the centre of the composition and composed the game's name, NUΛNO. I then duplicated this text object to separate each letter into individual layers.
Afterwards, I traced each letter's text objects for new shape layers using the pen tool and its stroke property. I then assigned trim path attributes to each shape layer and adjusted their Start and End values through several timeline keyframes.
I organised each text object below the next within the composition's timeline alongside their shape layers. I then used the track matte alpha feature to link each text object to their corresponding shape layer's trim pathing motion. Finally, I placed the title composition within the main composition.
Organising a Credit List
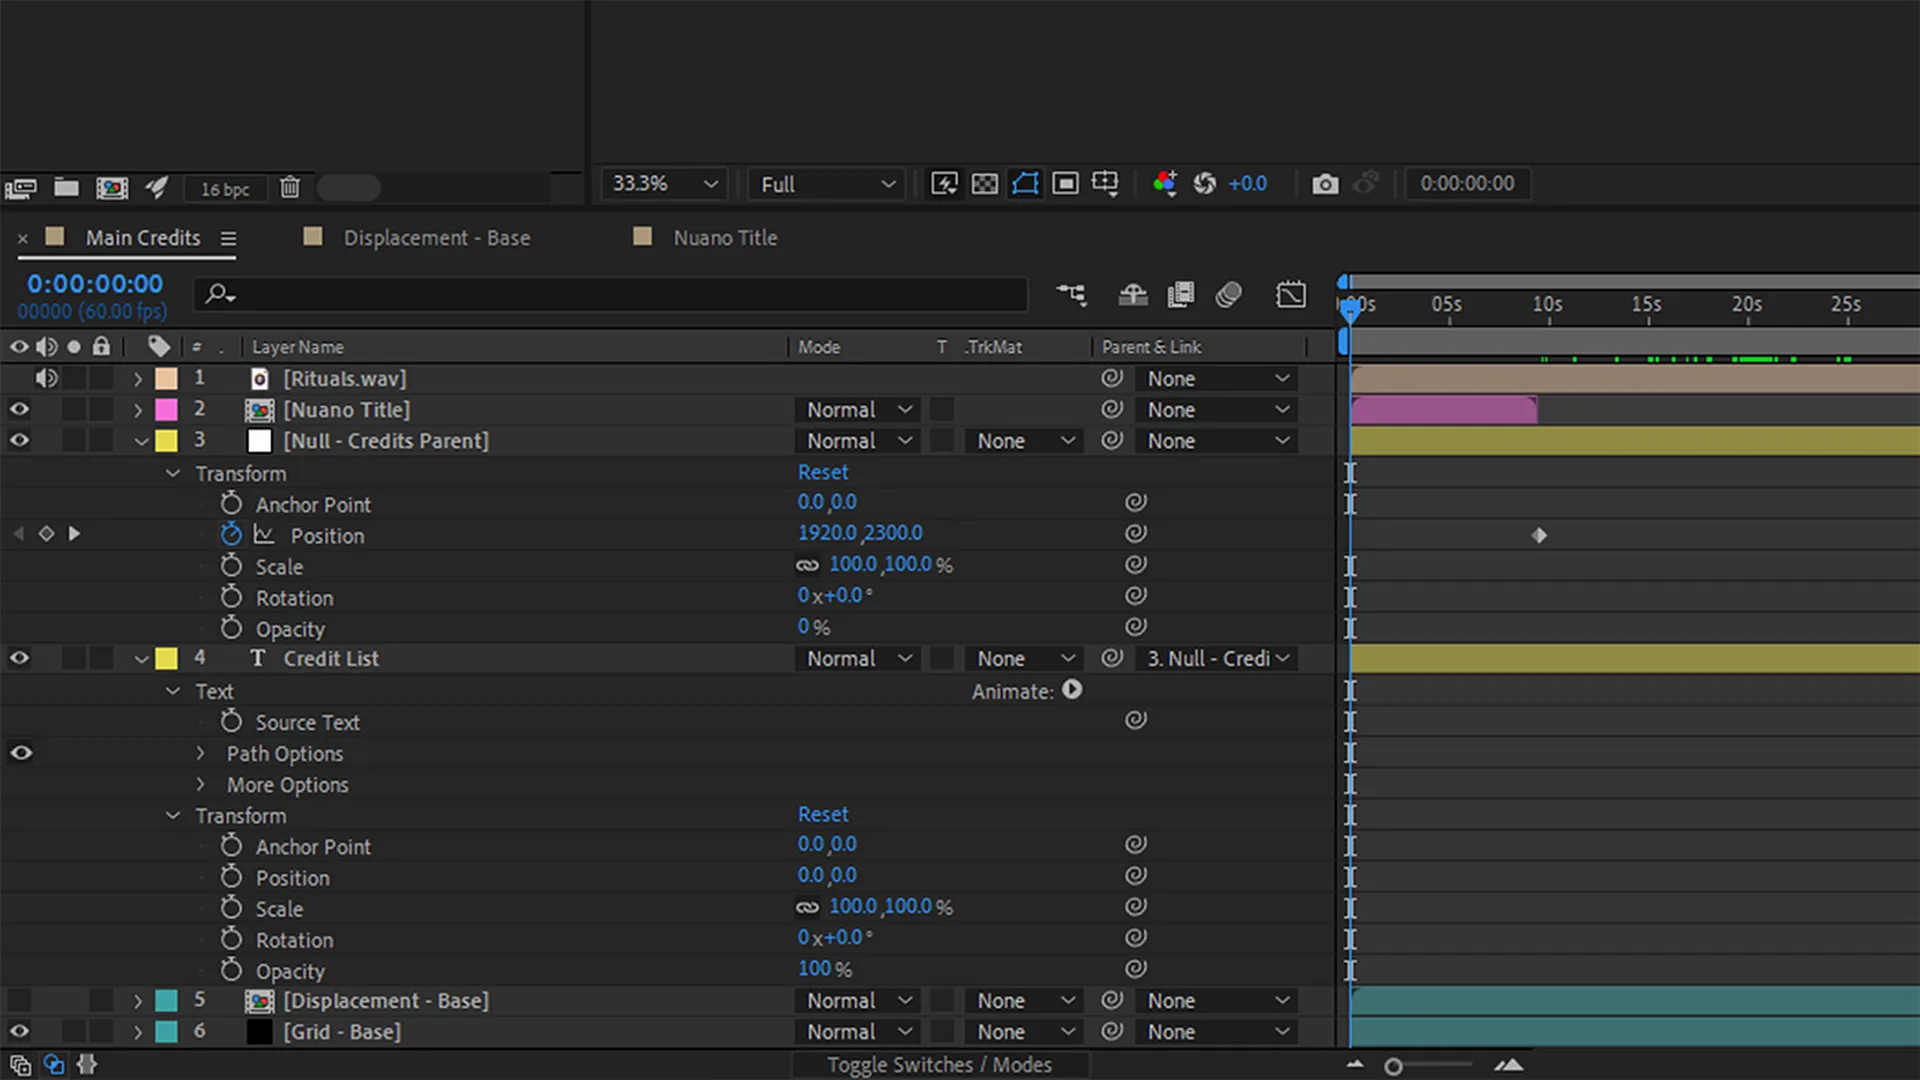
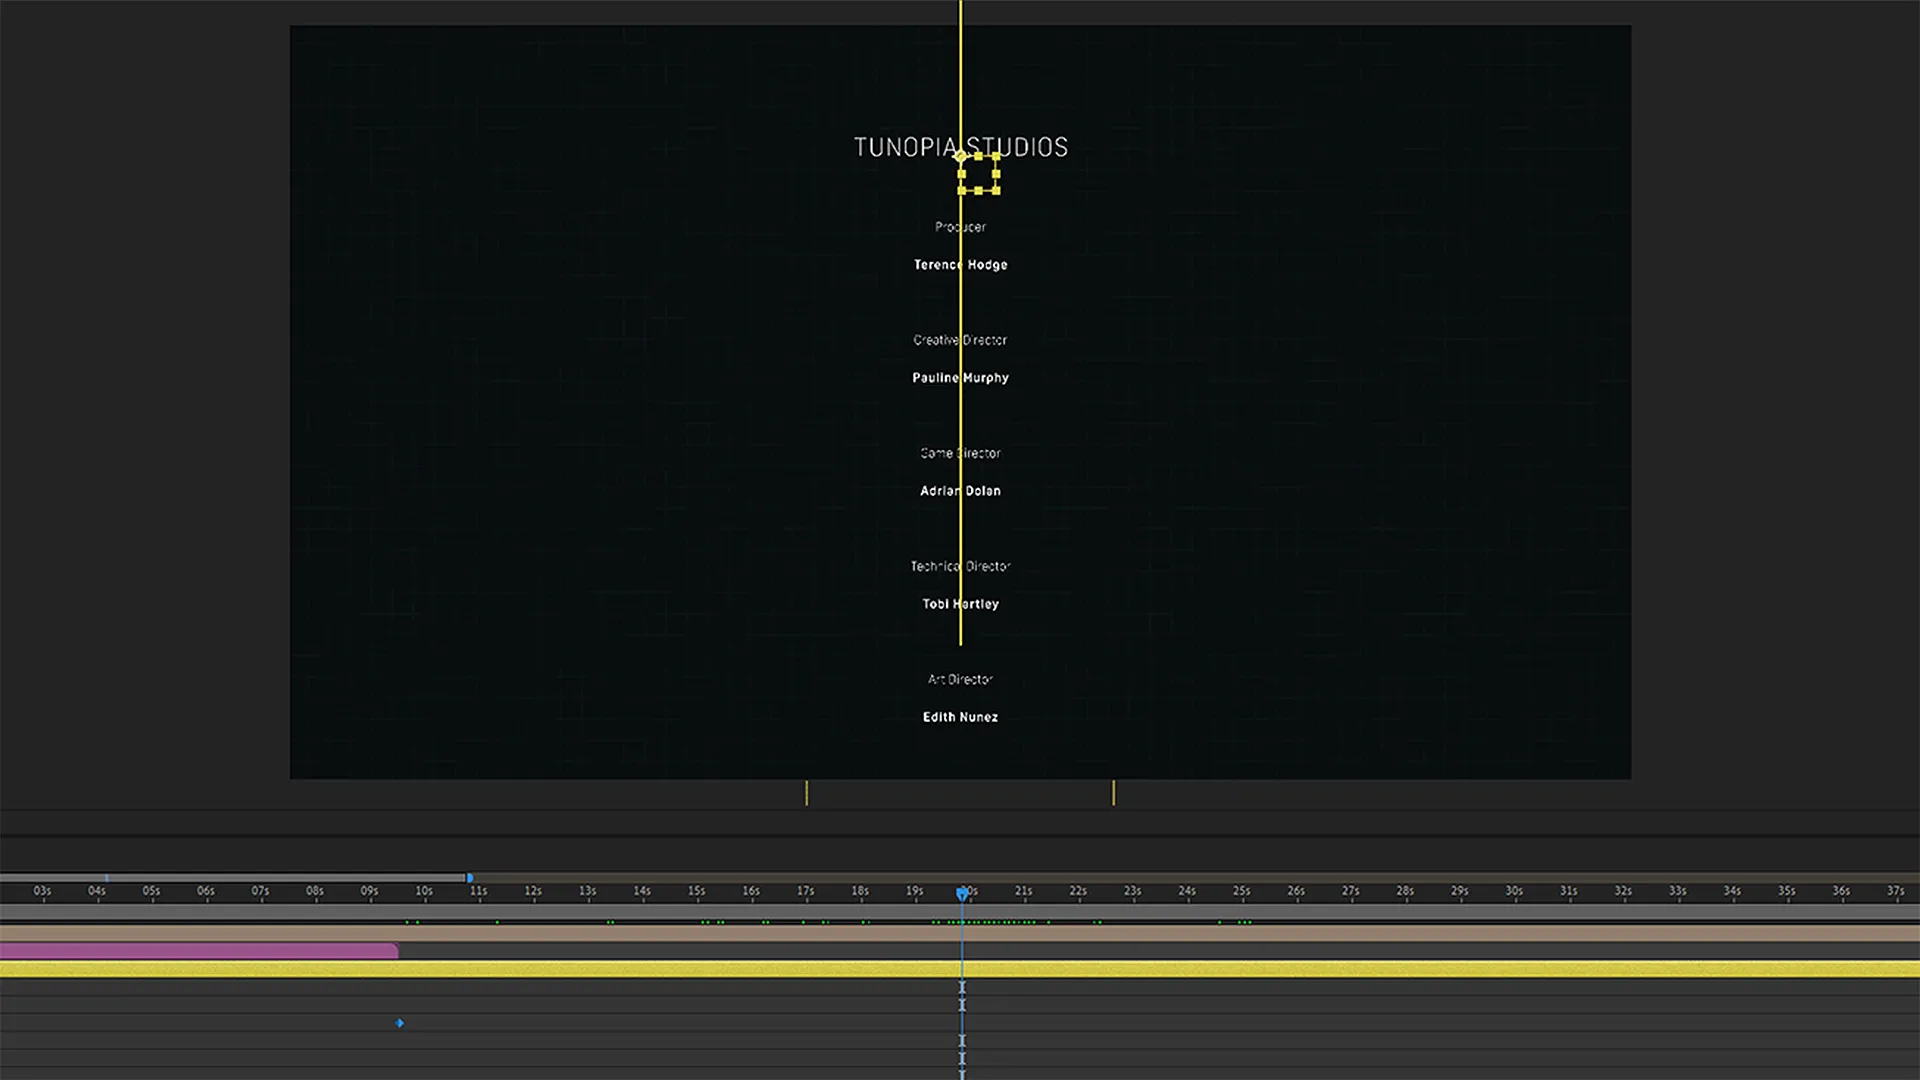
After creating Nuano's title, I organised its credit list.
I positioned a null object in the centre of the main composition to control the list's motion. I then positioned a text object underneath the null object's layer to illustrate the credits.
With its skeleton complete, I composed the list's personal names alongside their relevant departmental and role titles, eventually occupying 360 lines. Most names were randomly generated, excluding mine and the soundtrack's composer, Chris Glass. After the list's text was present, I applied the appropriate colour, letter spacing, line spacing and font choices.
I then positioned the null object below and above the main composition at the beginning and end of the timeline. Finally, I pick-whipped the text object to the null object to create a child-parent relationship, allowing the credits to follow the null object through the composition as time evolved.
Creating a Skip Signifier
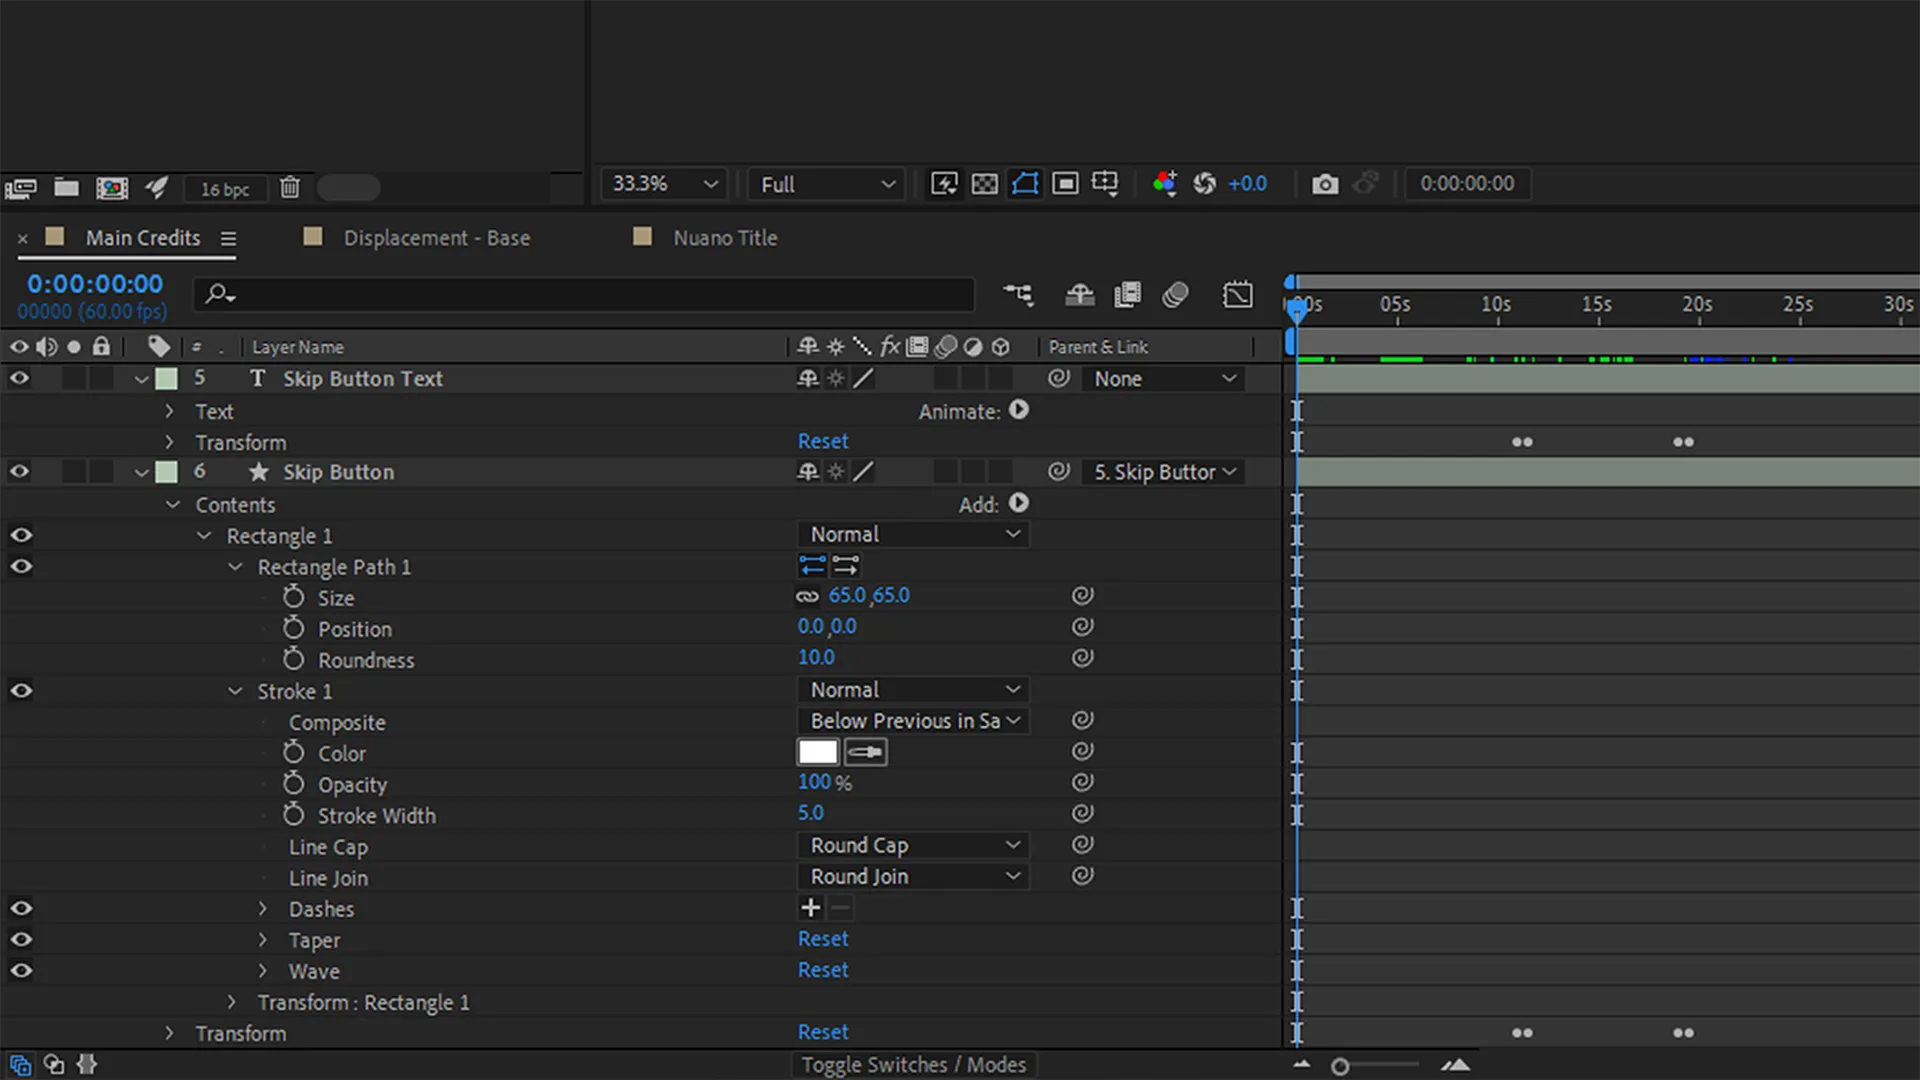
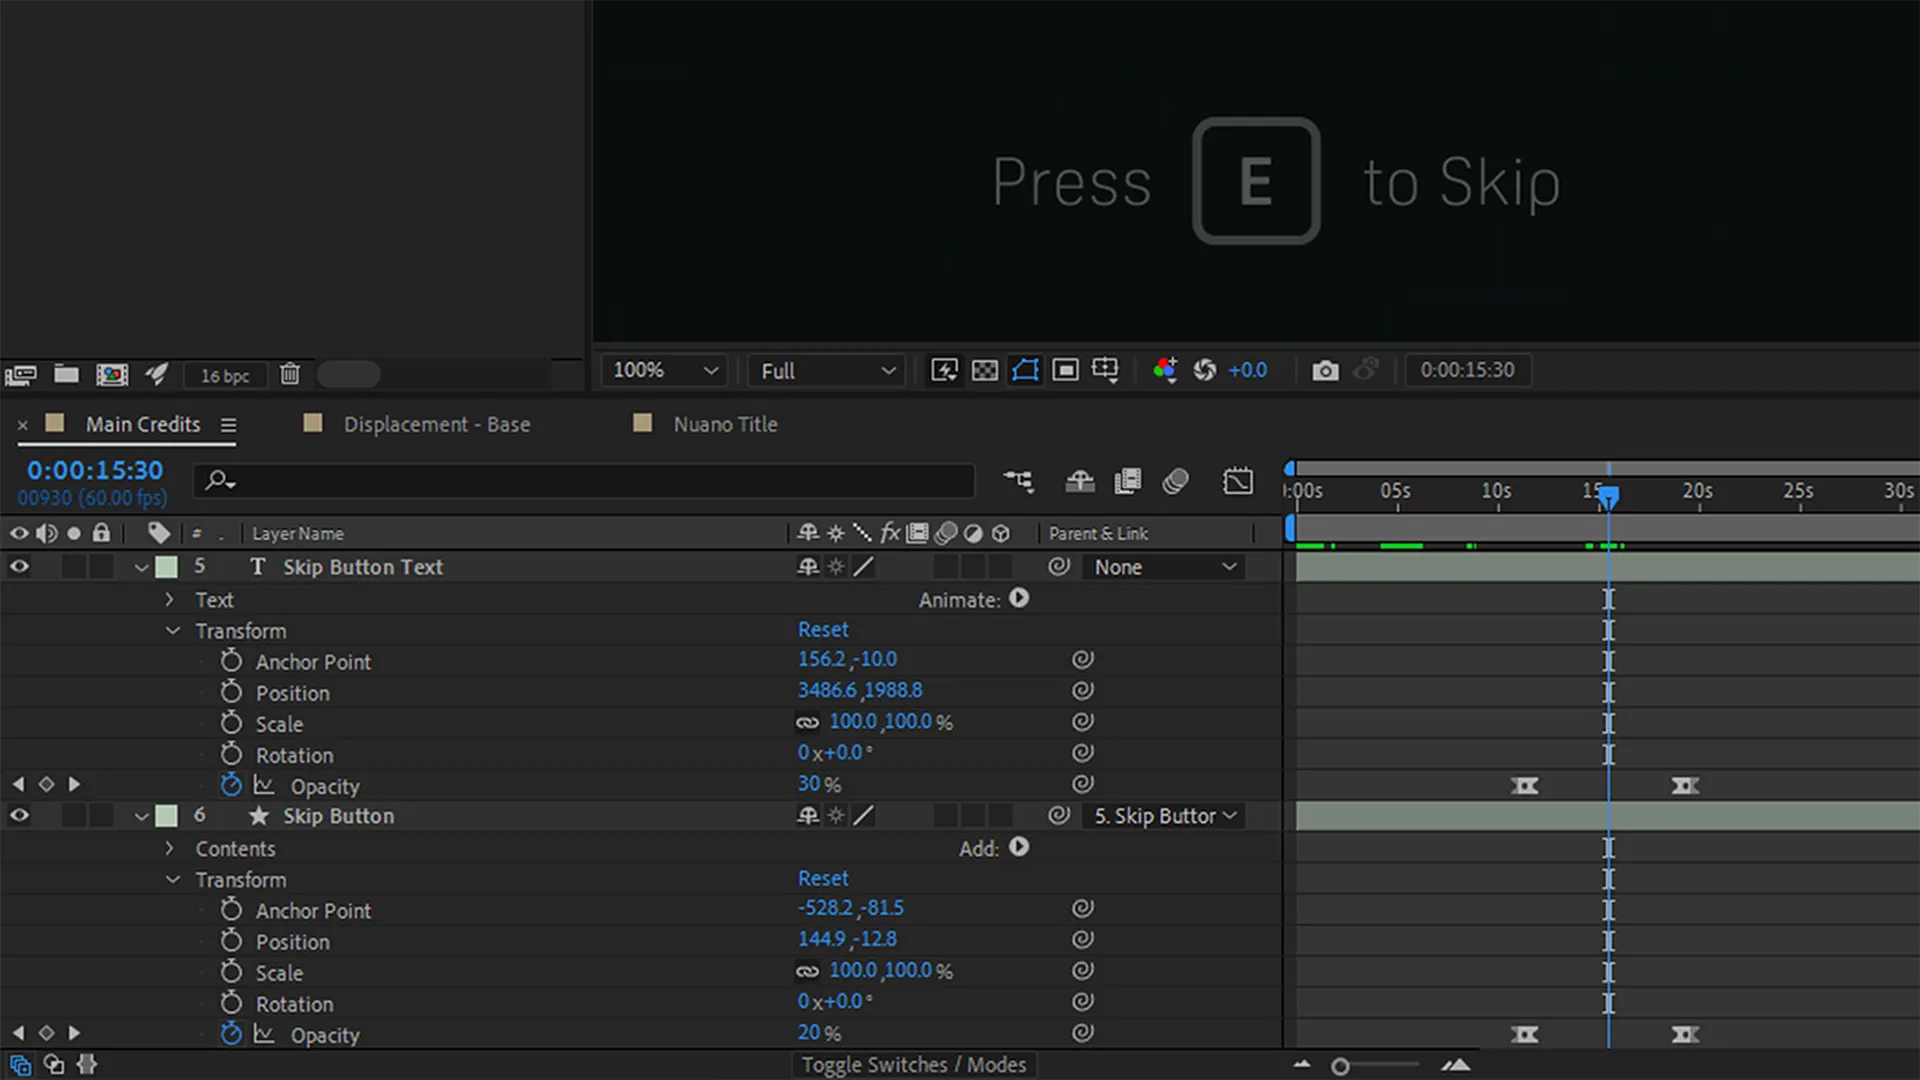
After organising Nuano's credit list, I devised a temporary function to allow the player to skip the credits. To establish function transparency, I created a skip instruction signifier.
I positioned a new text object in the centre of the main composition and composed the skip instruction. I then applied the same styling as the credit list's text object to this new instruction text object.
With the instruction composed, I created the keyboard input shape. I positioned a new shape layer in the centre of the main composition and used the rectangle tool to create a 65 by 65-pixel square. I then applied appropriate styling by removing fill, increasing stroke, and rounding the shape's corners.
Afterwards, I pick-whipped the shape layer to the text object and appropriately aligned them. Finally, I positioned the text object in the bottom-right corner of the composition and keyframed its opacity values within the timeline.
Providing a Gratitude Message
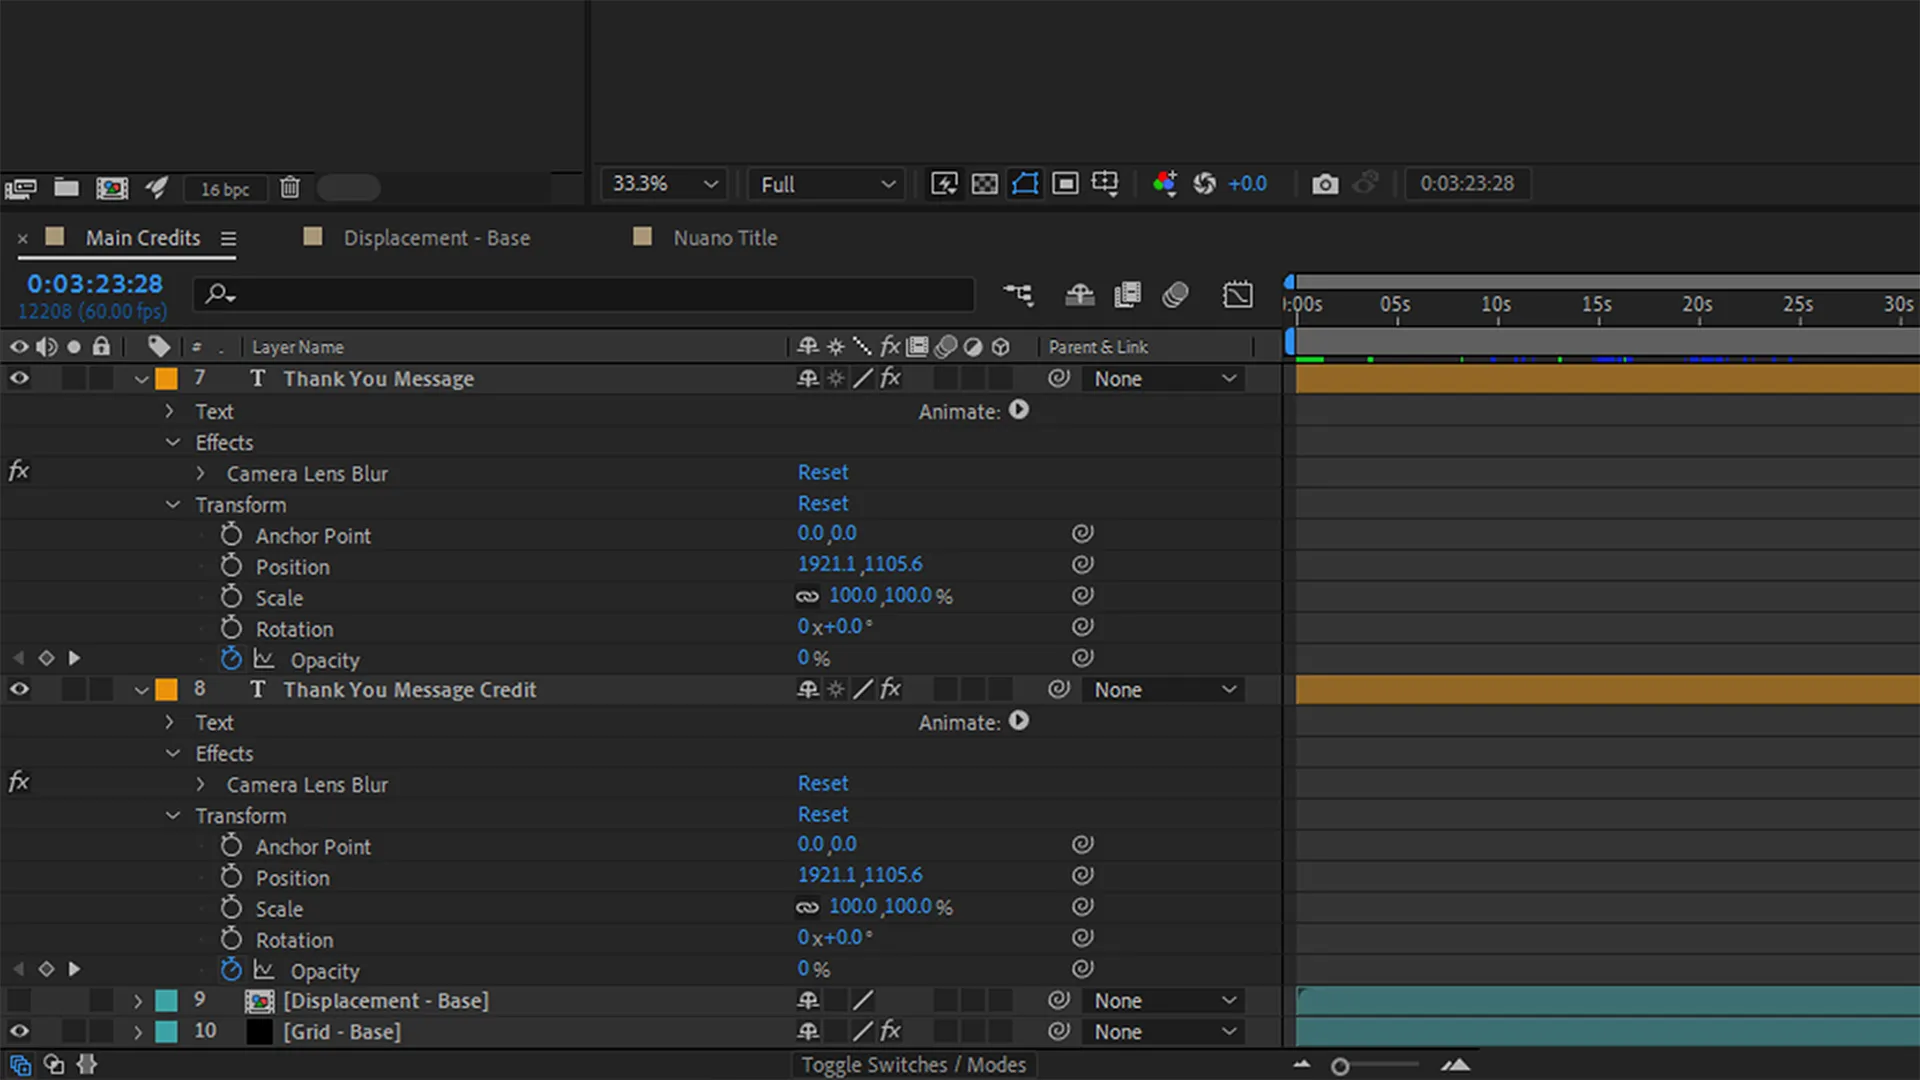
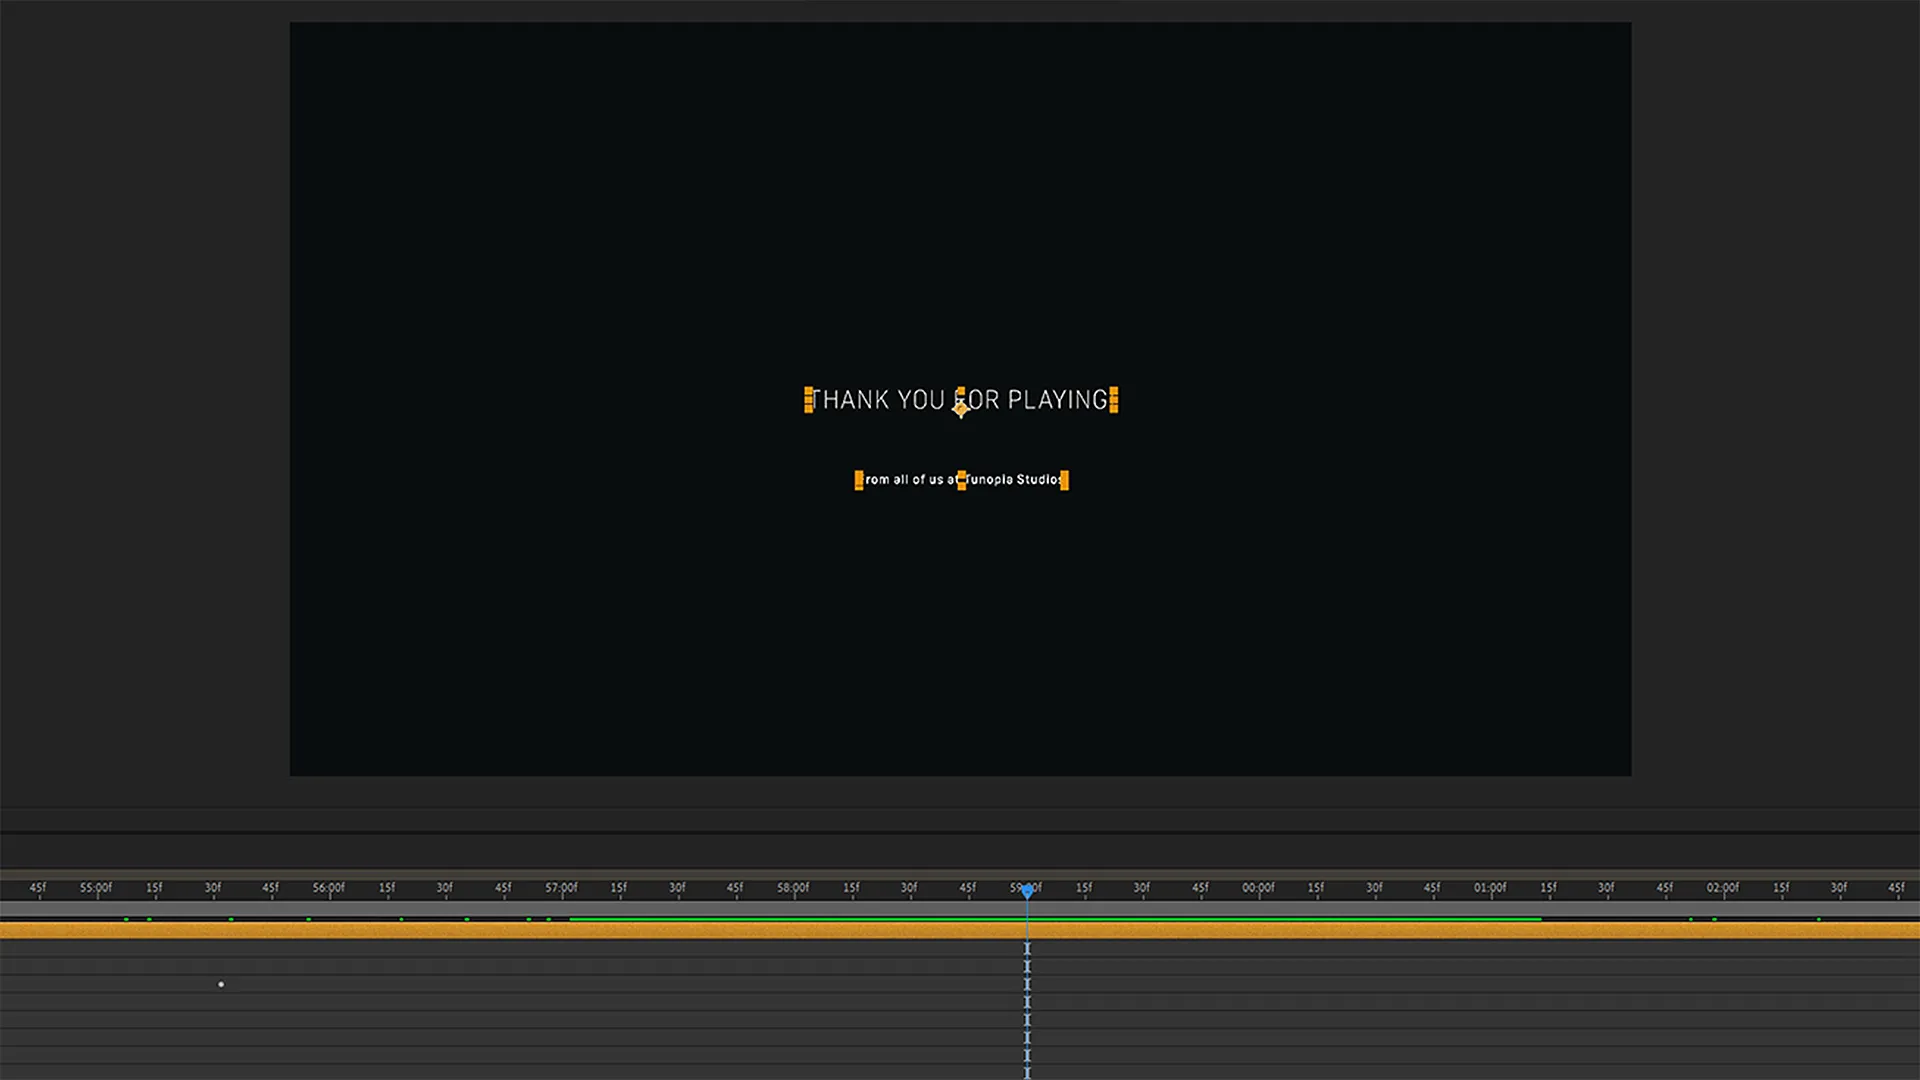
After creating Nuano's skip signifier, I wanted to provide the player with a message of gratitude for playing through the game to conclude the scene.
I positioned a new text object in the centre of the main composition and composed the message. I matched the object's styling to the credit list's text object's departmental title style.
Afterwards, I duplicated the message text object and tweaked its content to indicate who sent the message. I matched this object's styling to the credit list's text object's personal name style. I then positioned the object underneath the message text object with comfy padding.
I keyframed both text objects' opacity values near the end of the timeline to achieve the desired smooth-fading motion. Finally, I placed a camera lens blur effect on both text objects to emphasise the motion, making the objects appear to fade away through the background.
Creating a Beat Grid
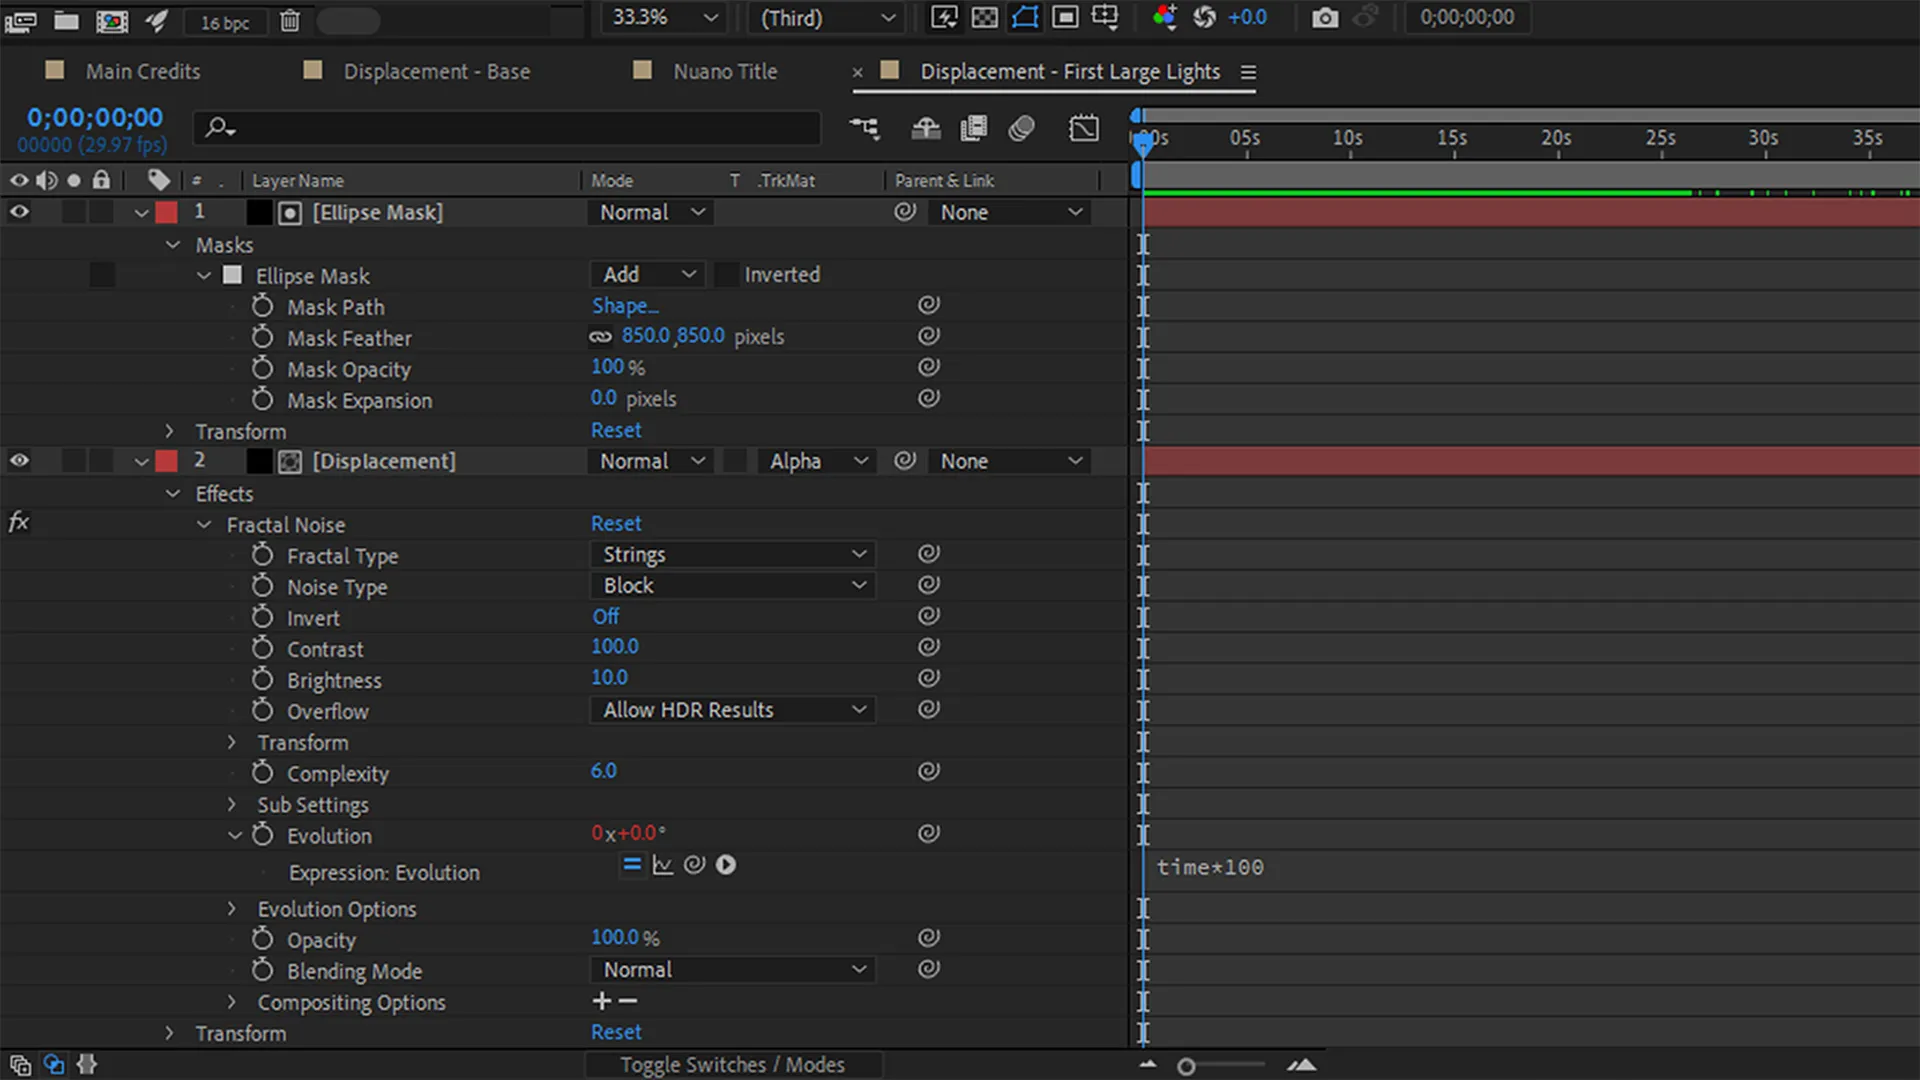
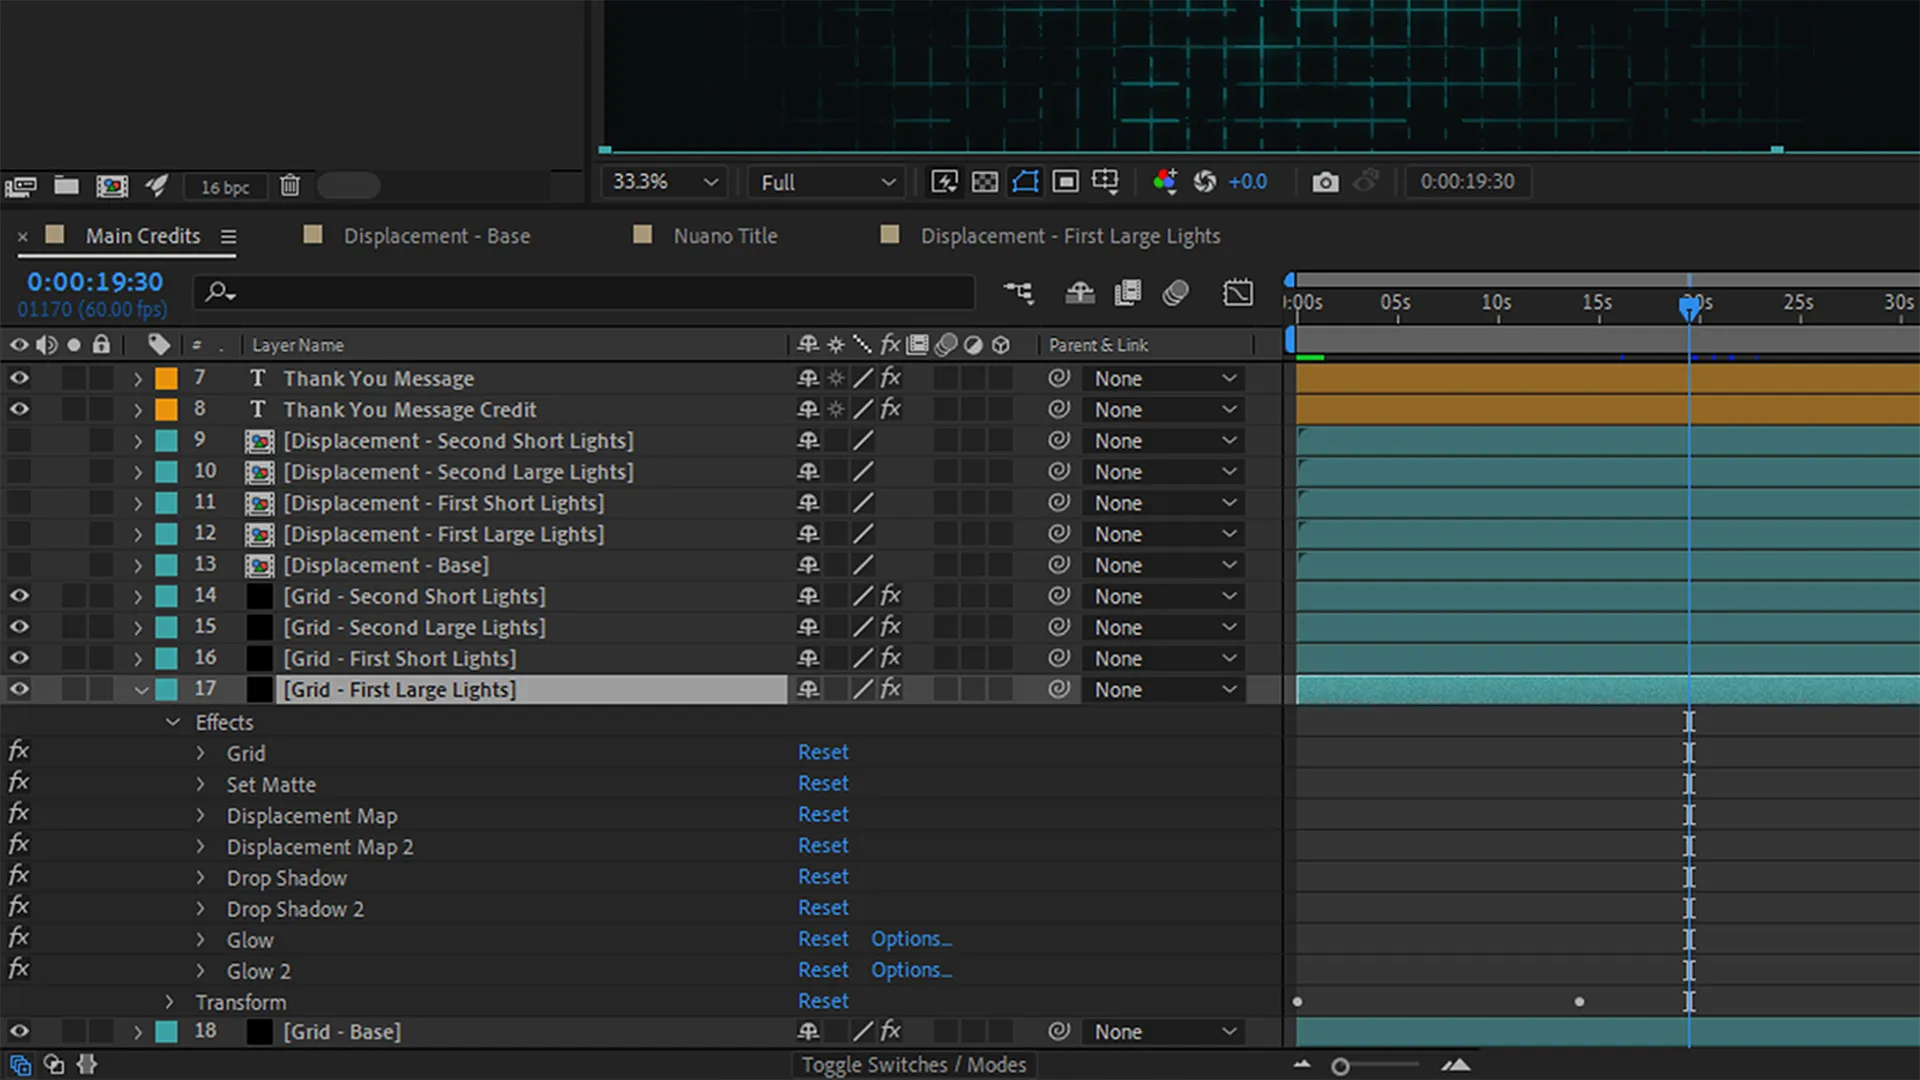
To complete Nuano's framework, I created a beat grid to act as an alternate focal point.
I created a new beat displacement composition and positioned a copy of the base grid's displacement solid object within it. I then positioned a new solid object in the composition and placed a feathered ellipse mask on it. I placed the mask above the copied displacement object within the timeline to track matte the mask's alpha, creating a smooth circular focal point.
Afterwards, I typed several expressions within the mask's position transform property to create the focal point's randomised movement.
I then placed the beat displacement composition within the main composition and toggled its visibility off. I duplicated the base grid's solid object to act as the beat displacement's variant and placed four extra effects on it. Two drop shadow effects and two glow effects provided a final subtle glow to the beat grid.
Synchronising Amplitude
After completing Nuano's framework, I synchronised the scene's soundtrack with both grids.
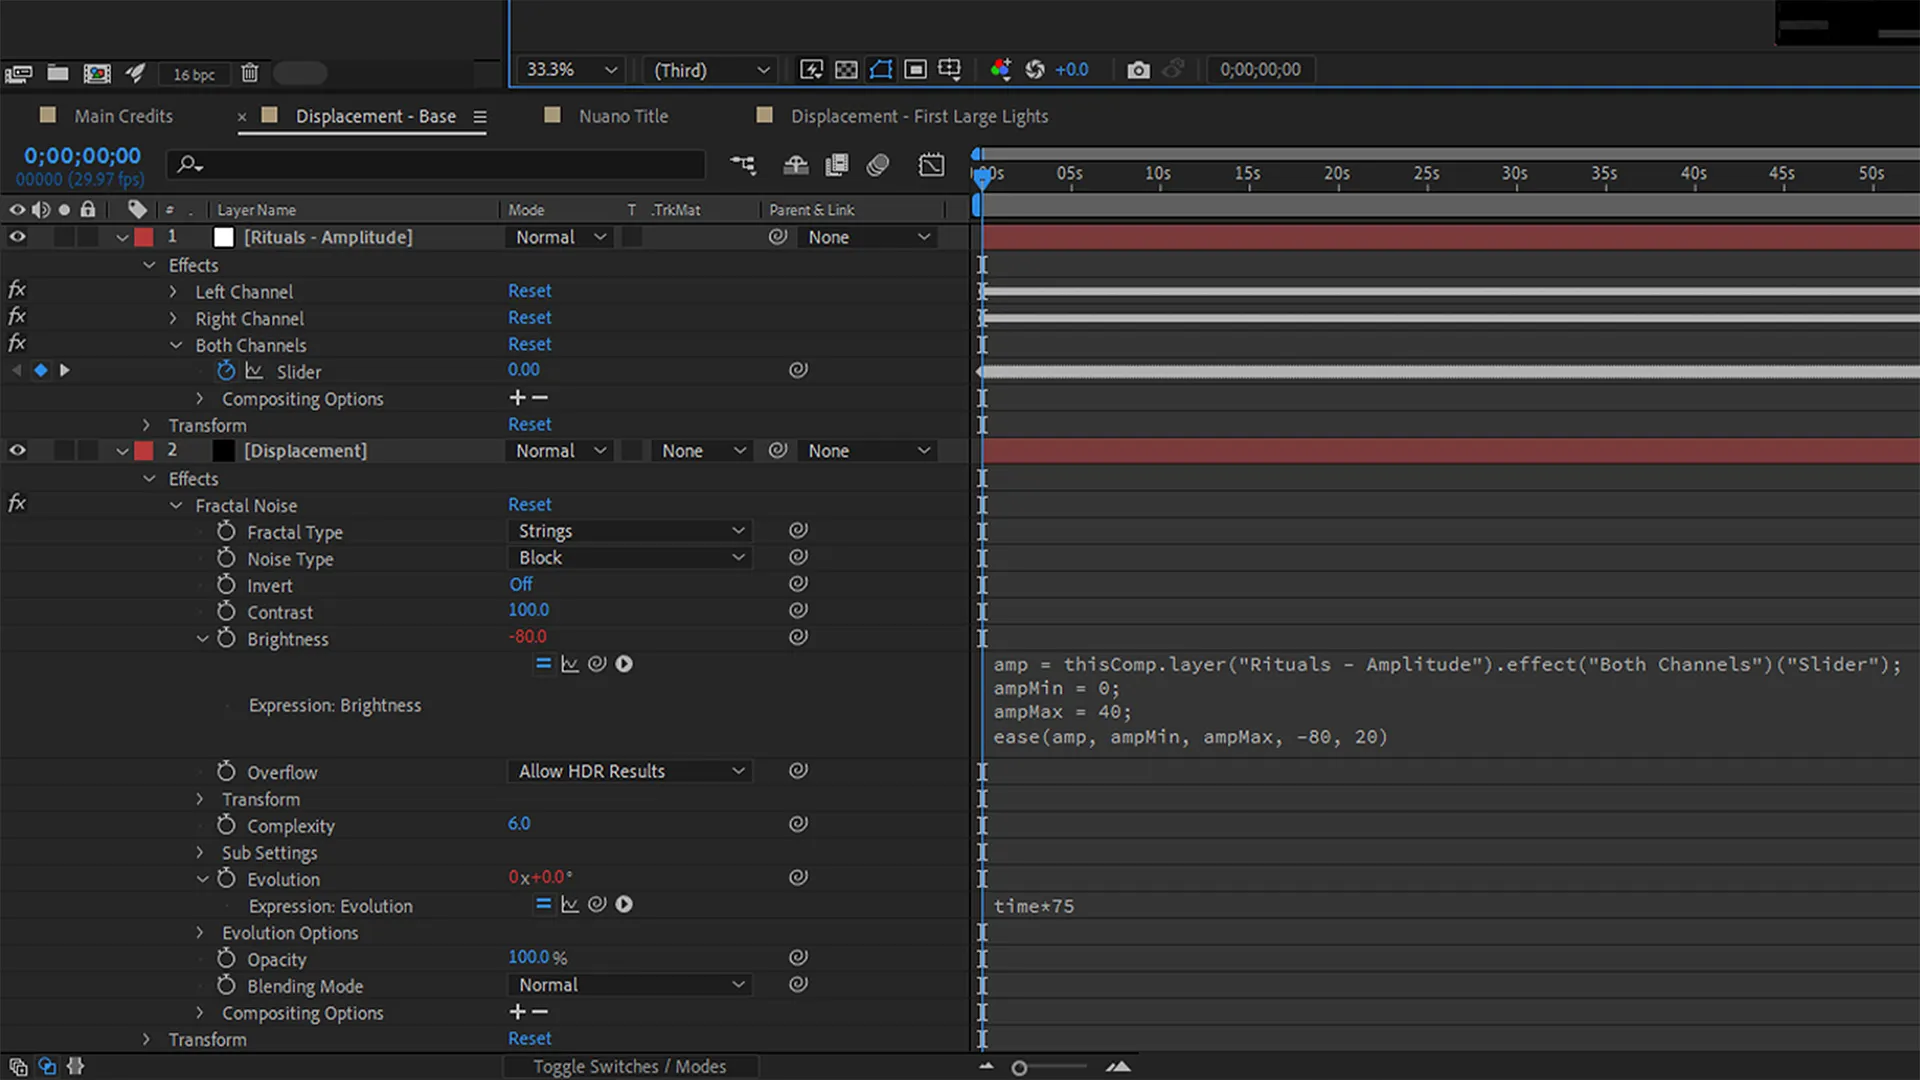
I converted the soundtrack's .wav object into keyframes, creating a new null object with three independent slider effects for each audio channel. I then positioned copies of this null object in the base and beat grid displacement compositions.
For the base grid, I hooked the null object's slider value into the brightness property of the displacement's fractal noise effect. I then referenced the slider value within the brightness expression to fluctuate the base grid's visibility based on soundtrack amplitude.
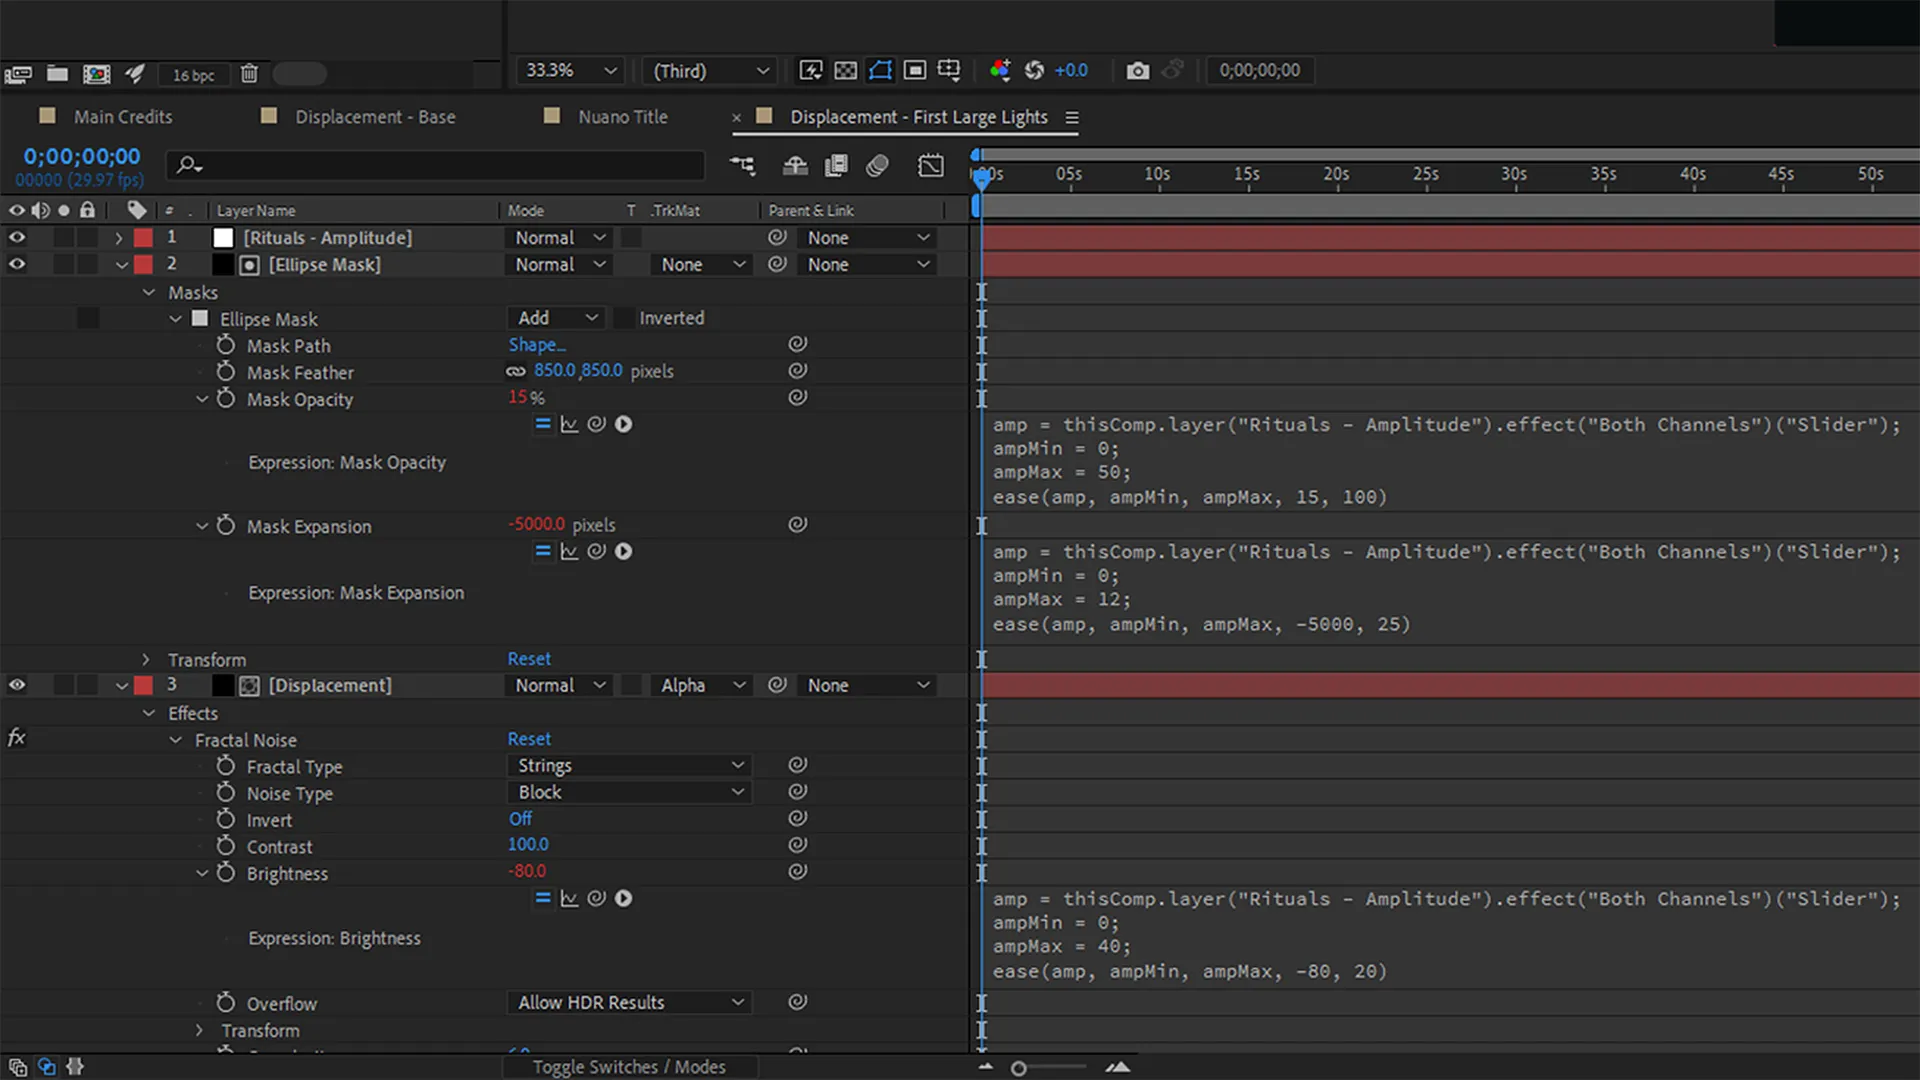
For the beat grid, I repeated the same process. I then referenced the null object's slider value within the ellipse mask's opacity expression to emphasise the displacement's fractal noise effect. Finally, I referenced the slider value within the mask's expansion expression to fluctuate the mask's size based on soundtrack amplitude.
Optimising Intersections
While synchronising the scene's soundtrack, intersections were evident where its amplitude fluctuated heavily. I wanted to emphasise these by tweaking the beat grid's visibility.
However, my approach to this idea was not practical.
Initially, I duplicated the beat grid's displacement composition three times for each intersection to tweak their ellipse mask's opacity values. This approach posed a problem due to the entropic nature of each ellipse mask. I needed these masks' positions to align at each intersection for a smooth scene.
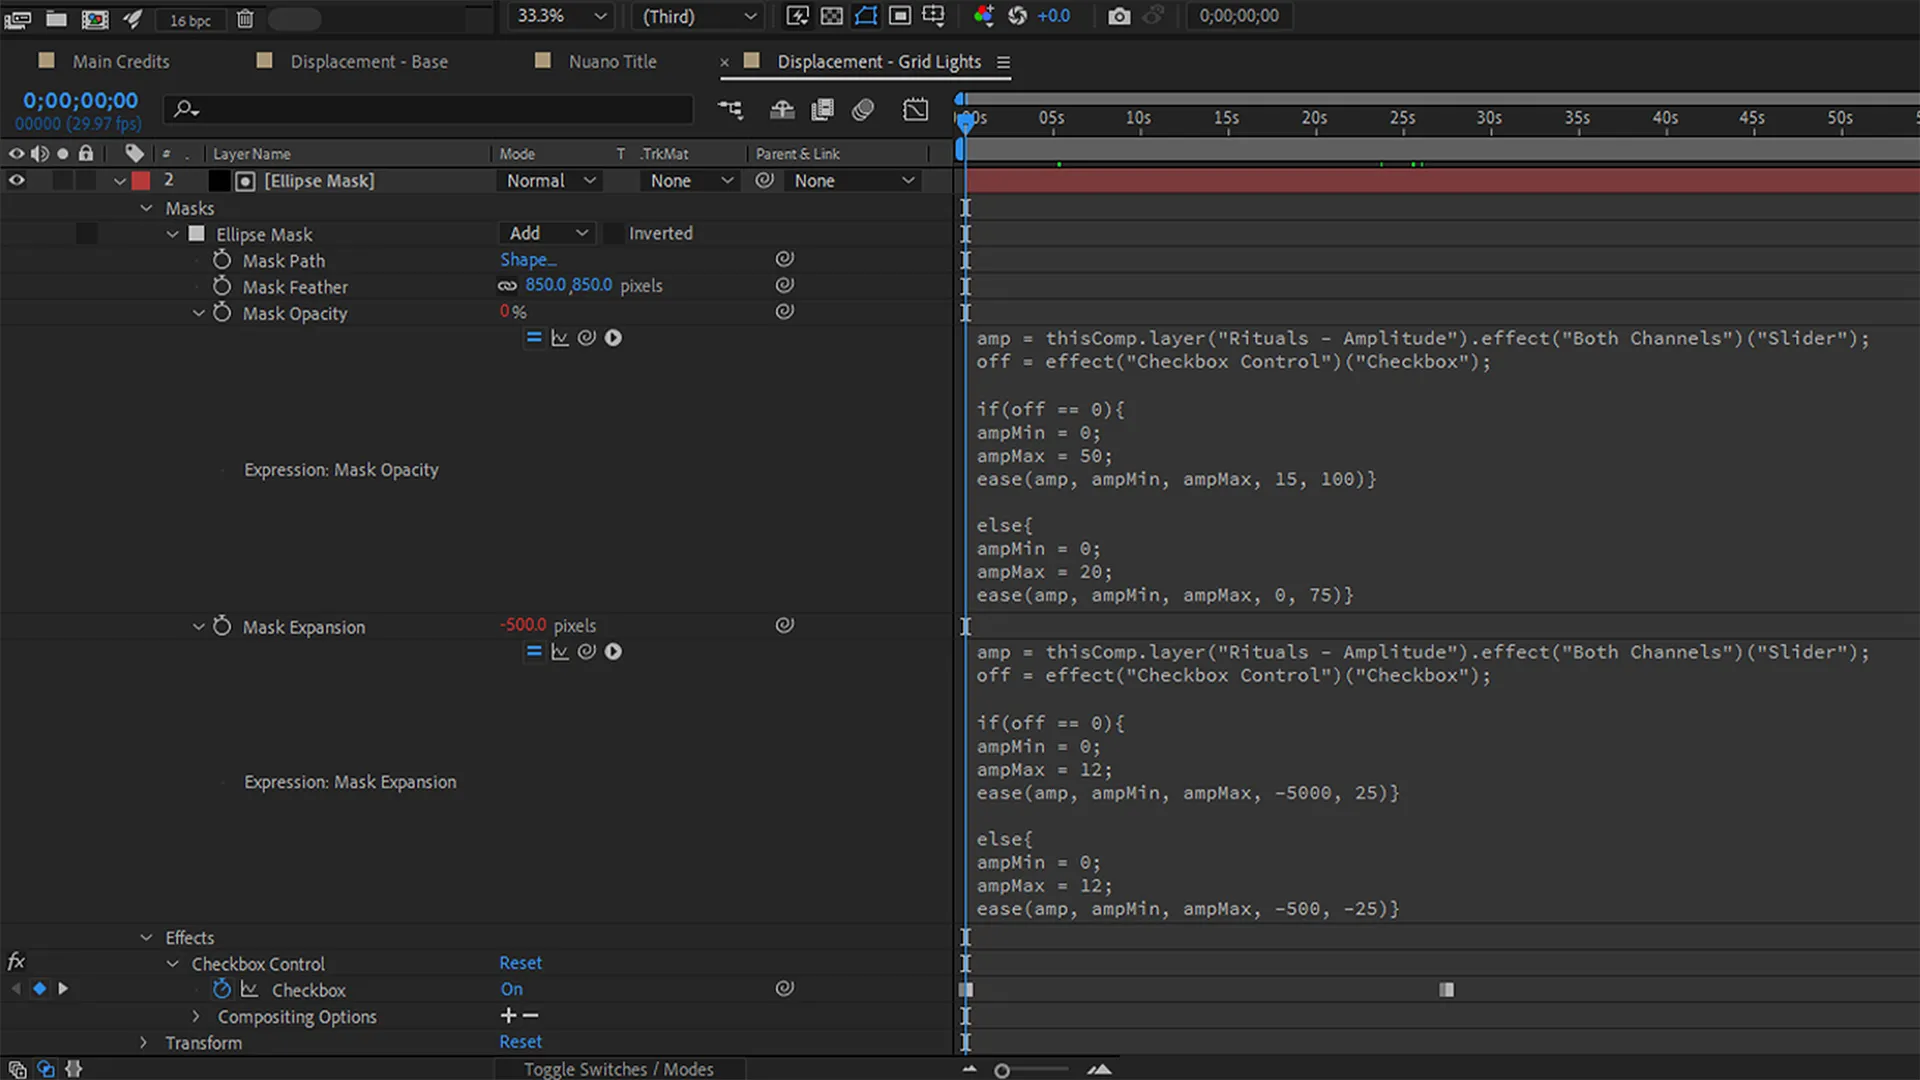
So, I optimised this approach by placing a checkbox control effect on each mask. I then referenced the checkboxes' Booleans in my expressions to switch two sets of values. These Booleans allowed me to tweak property values at each intersection on the timeline and reverted the need for four beat grid displacement compositions to one.
Polishing the Scene
After optimising Nuano's beat grid, I polished and cleaned the rest of its scene.
By typing each expression with minimum and maximum amplitude values, I adjusted the sensitivity of each object property that was affected by the scene's soundtrack amplitude.
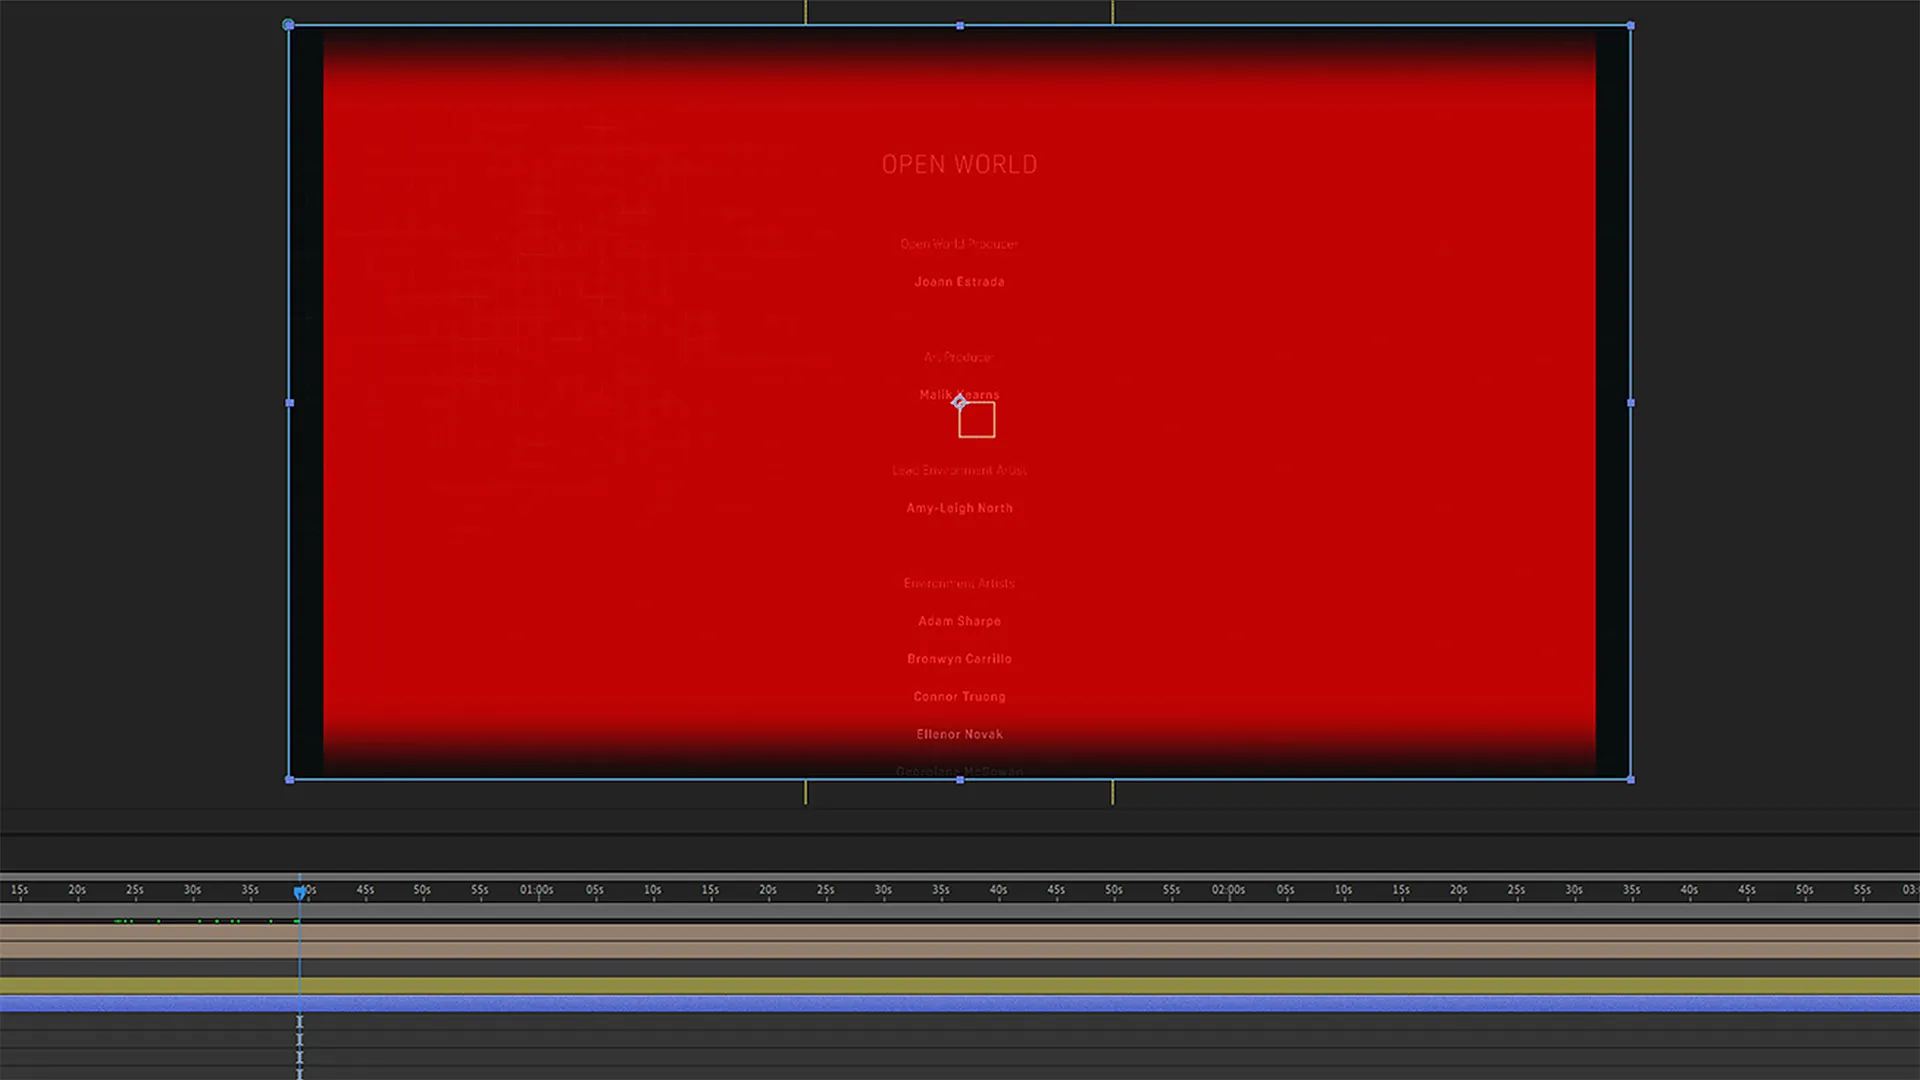
Informal feedback implied that the means of transitioning the credit list was too abrupt. So, I made the list fade in from the bottom of the composition and out through the top using a hidden feathered rectangular mask.
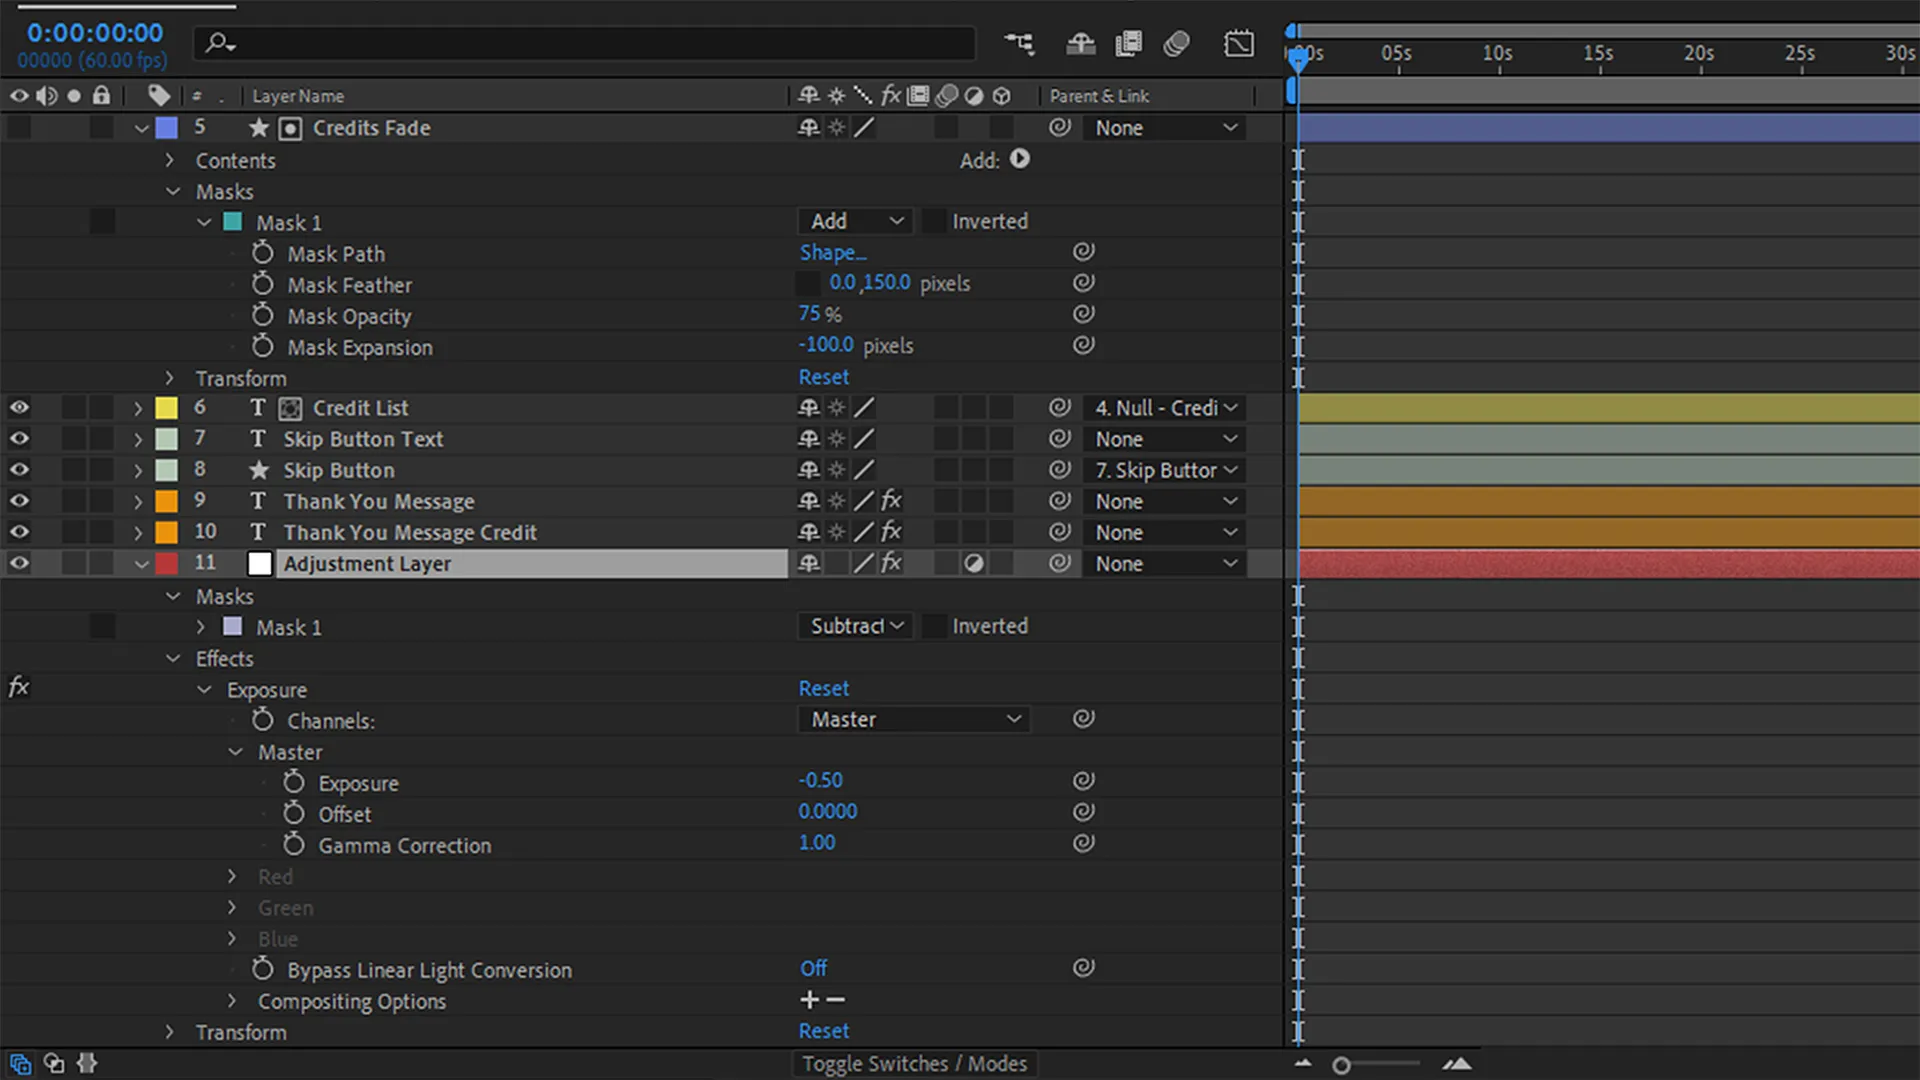
After that, I created a subtle dynamic vignette to emphasise the soundtrack further. I positioned a new adjustment layer in the main composition. I then placed an ellipse mask and exposure effect on the layer and decreased the exposure of the masked area by -0.50. Finally, I typed an expression for the mask's expansion property to affect the size of the vignette based on soundtrack amplitude.
Rendering the Production
After achieving Nuano's scene, I initiated its render cycle. While I have rendered projects before, Nuano was different in the sense that I tinkered with more render attributes.
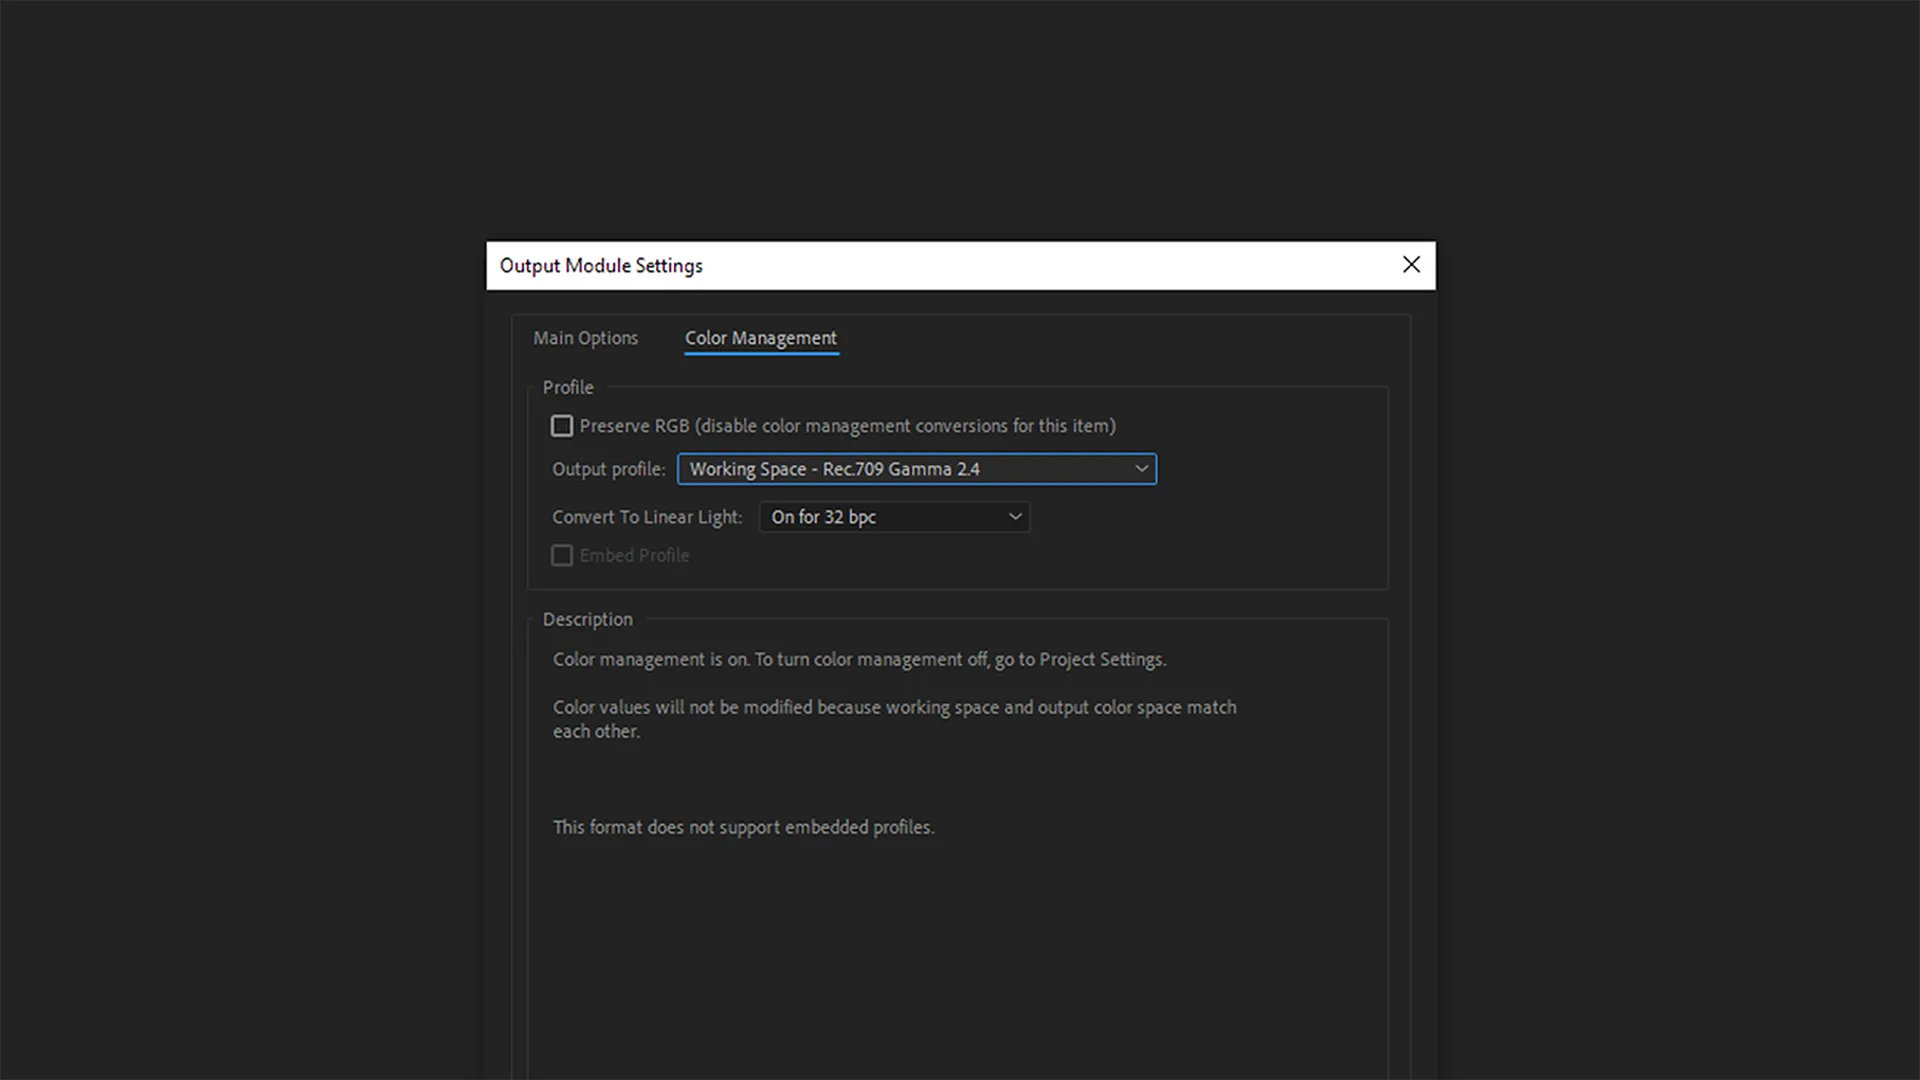
Halfway through the project's development, I altered the scene to use the ProPhoto RGB colour space. This colour space allowed for a wider colour gamut, which increased the scene's vibrancy. However, I could not play the resulting render due to media player conflicts.
Through research, I found that most screens and media players support the sRGB colour space and that Vimeo recommends either Rec.709 or Rec.2020 colour spaces. So, I altered the scene to use the Rec.709 colour space, which drastically changed the scene's appearance and required me to fix novel colour inaccuracies.
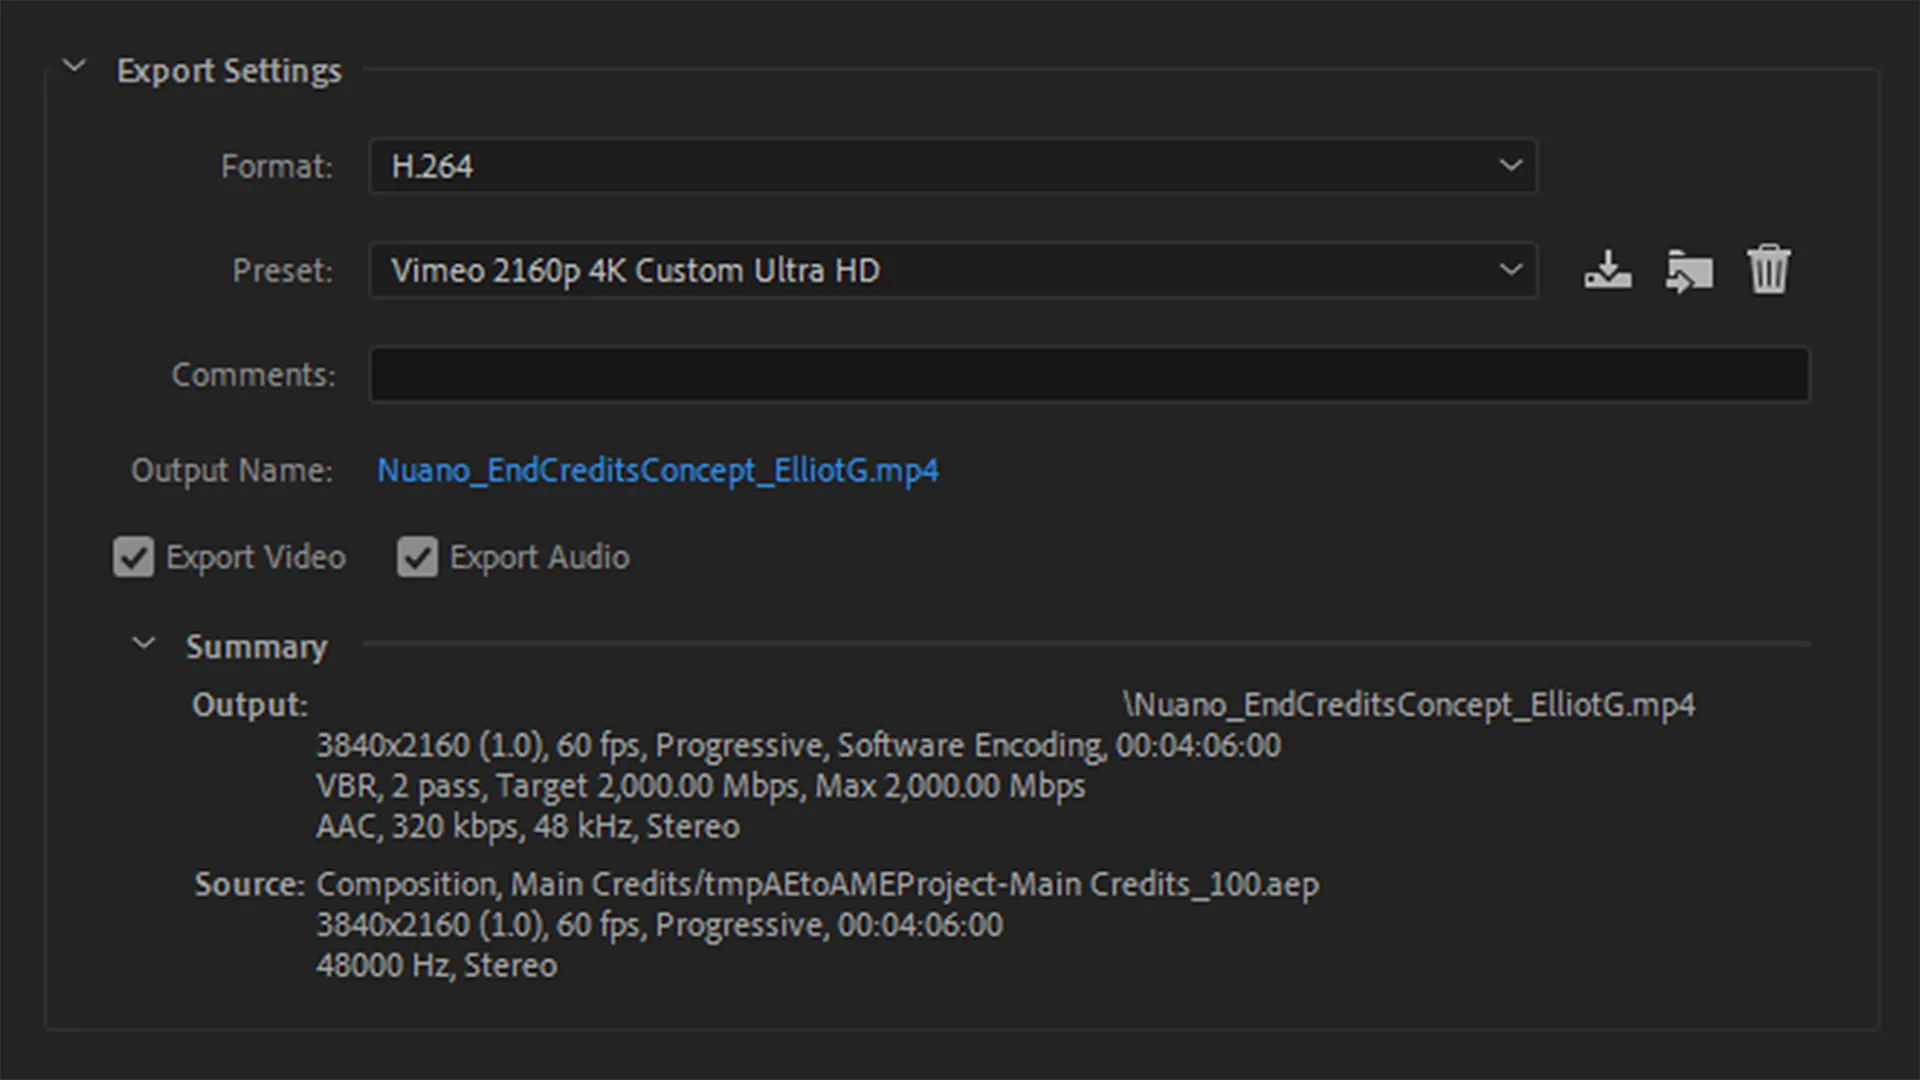
However, after battles with compression, rendering raw files in After Effects, and exporting appropriate file types in Media Encoder, I finally rendered Nuano's final production.
Death Echoes
Death Echoes was a professional group project briefed by industry clientele at Abertay University to create a game prototype. I accepted duties as the group's lead UI, gameplay, narrative, and level designer.